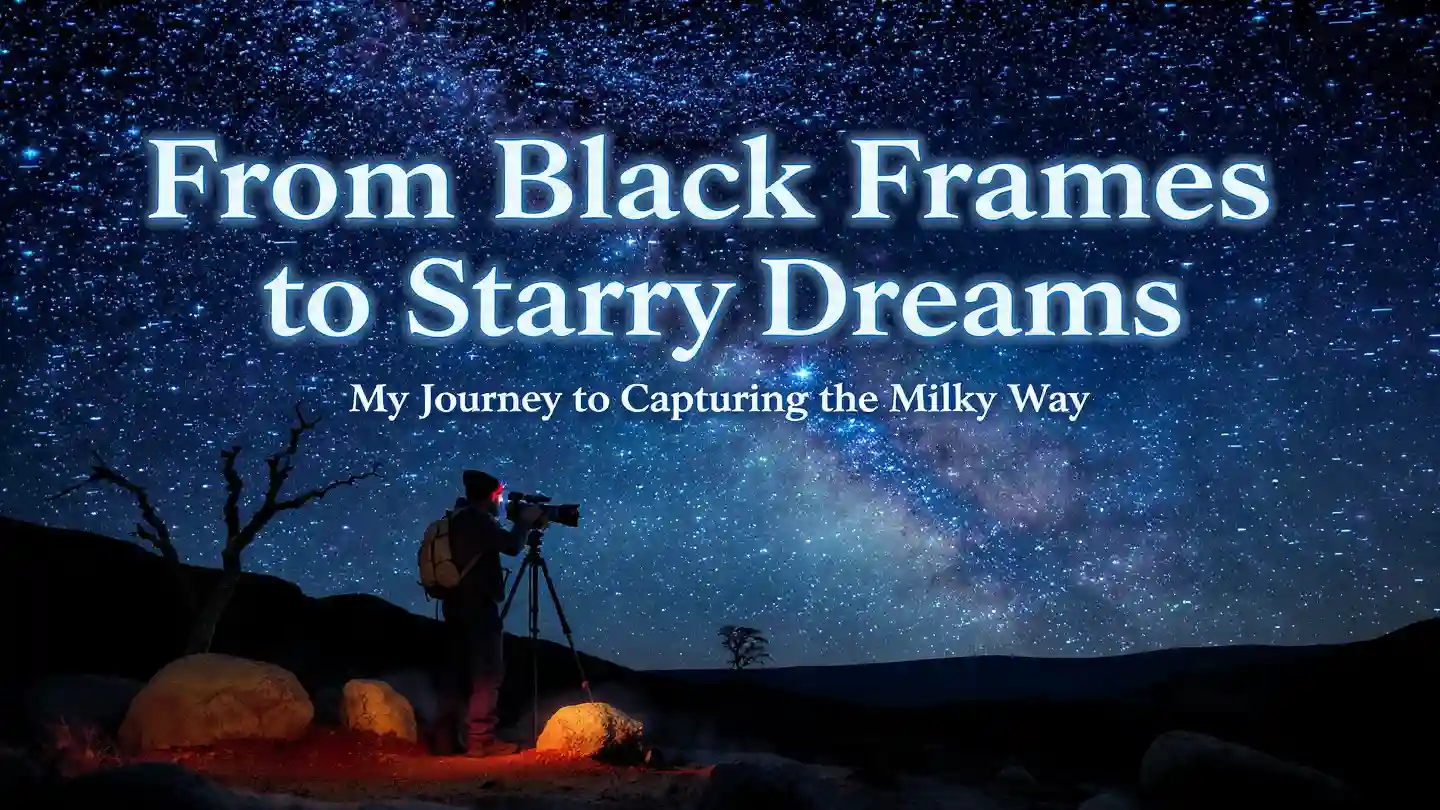
From Black Frames to Milky Way Magic: 15 Real Tips for Stunning Milky Way Shots
I’ll never forget the first time I saw it. Not in a photograph, not on a screen, but with my own eyes. I was well out of town, many miles from anywhere that seemed worth lighting. And hanging there was no fuzzy smear after all, but a radiant ghost river cutting through a mad horde of diamond-dust stars. The Milky Way. It felt like looking into the heart of everything rather than at something.
I completely failed. I got home with a whole card full of black grainy images and a few sad dots. I had a nice camera, tripod, and an even nicer sky – but I didn’t have the required ingredients. The results are disheartening. I searched photography forums and saw people producing wonderful Milky Way shots, and of course I convinced myself it was a secret knowledge that only the chosen few possessed, that I needed an actual NASA telescope.
But there you have it. I’m stubborn. Thus began a long period of trial and error. I spent so, so many nights freezing in the darkness, fumbling with frozen fingers against dials and buttons and making every mistake I could think of (and maybe a few that I didn’t). This guide is the conversation I wish I could have had with myself. It’s not a textbook — far from it — but it’s my story distilled to the 15 most important tips I learned — the hard way — on the journey from shooting black frames to making beautiful Milky Way photos and capturing successful images.
This is a deep dive, a how-to from the school of hard knocks. Let’s begin, and let’s fly to the stars.
Table of Contents
Preparation Before Shooting Milky Way Shots – Where 90% of the Magic Happens
I once thought it was all in the camera: I couldn’t have been more wrong. For Milky Way astrophotography, 90% of the work occurs long before you even think about packing your camera bag. And those tips are the secret behind every great shot.
1. Darkness Is a Destination, Not Just an Assumption
This is the fundamental principle of night photography. The byproduct glow from our civilization cloaks that delicate starlight. I made the old mistake of thinking I could drive an hour “out of town.” I followed my nose one night, delighted to have found a truly dark farmer’s field – dark, to me. I must have spent hours there. My heart sank when I got home and loaded the photos. Every last one of them was ruined by an ugly brown-orange gradient creeping up from the horizon. My “dark” still possessed much of the light pollution, a town I couldn’t even see.
An important realization that changed my perspective radically was discovering. The best, the one I still pull up for every trip today, is LightPollutionMap.info. It reveals a sobering view of global light pollution.
- The Key: On the map, you get from a clinical white (inner city) down through roiling reds, oranges and yellows and then to the promised, greener pastures, blues. These colours show how the sky brightness is rated on the Bortle Scale. You really want to be in a minimum of Bortle Class 4 (green). The sweet magic happens in Class 3 (blue) and below, where the entire Milky Way is visible to the naked eye.
- Tips: Stop thinking of darkness as your last option. Think of it as your destination. A couple of hours’ drive to an International Dark Sky Park or, better yet, a remote area such as a national forest, will yield a millionfold more rewarding results than going to a “pretty dark” site nearby. Make your trip a pilgrimage. Your destination is dark.
2. The Moon Can Destroy Your Night – Plan Around It Ruthlessly
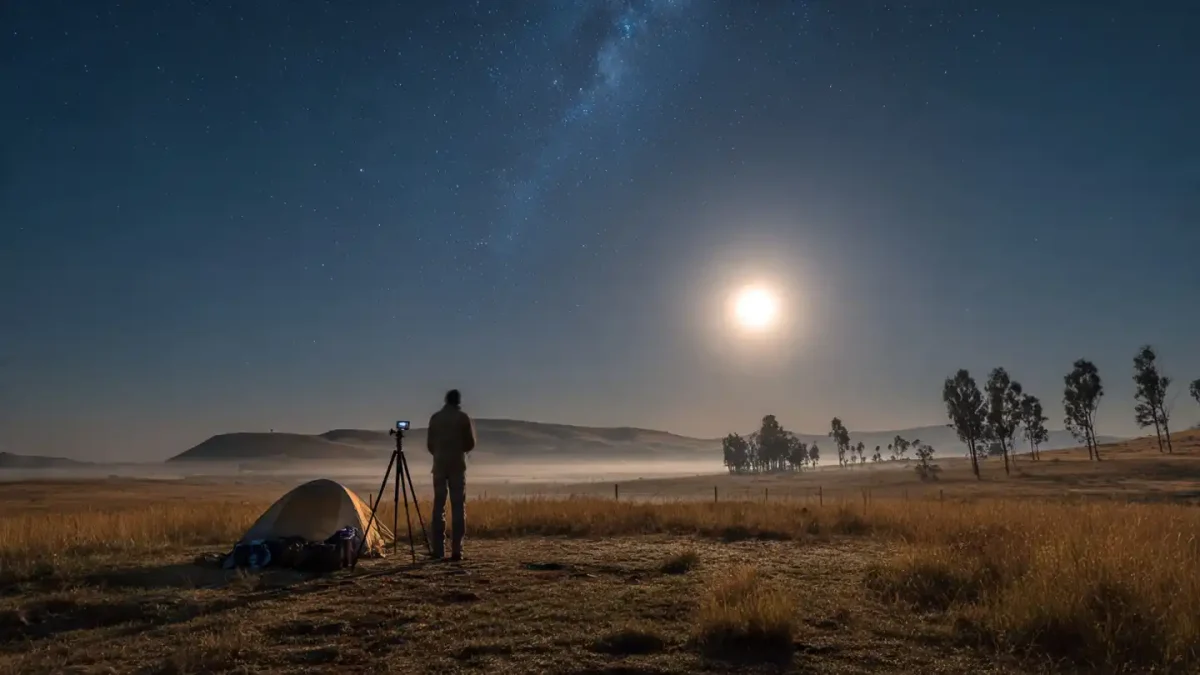
Most nights, I love the Moon, not just a great photographic subject in its own right, but as a soft, diffuse lightener of land images. But when you’re trying to hunt down the faint gaseous structures of our Milky Way, the Moon can really kill the night sky, a big giant natural spotlight that will rise in the sky and wash everything else out with it!
I learned this the hard way. I planned a whole weekend around this site I’d picked out on my dark sky map. I drove hours to get there, set up my tent, and waited, all giddy in the knowledge that soon darkness would arrive soon. Then just before the last drop of sun squeezed out, a brilliant half moon rose and it was bright enough to read a book by. Beautiful, yes. My photographic heart was broken.
- Tip: I’m obsessed now with the lunar calendar. New moon is the best phase for milky way photography; there’s no moon in the sky. The five-day window on either side of that is also available—the slender crescent moon will set before the sky is dark or will rise after it’s light. Take, rather than ask, that time off work, check a moon phase calendar and book your shoots.
3. Scouting in Daylight (and Quick Night Tricks) Saved My Shots
Arriving somewhere you’ve never been in utter blackness is very disorienting and a little scary if I’m honest. What’s around you? Is there a cliff? Is it private property? And for your pictures, you can’t see in the dark exactly what’s around you, the compositions hiding in the shadows.
My habit when scouting locations, is to walk the area during the day. Walk the area, compose it in your head, don’t just consider where on earth you are going to park. Look for “foreground anchors” – an interesting contour of a tree, rock formation, or fence line that heads off into the distance. Then, when you come back at night, it’s all there, and you can decide just where you want to put your tripod for the shot of the Milky Way coming up over that thing.
But what if you can’t wait until dusk? This is another time when I pull out my “quick night scouting” technique. Once I’m on location, I resign myself to the fact that in the next few minutes I’m going to ruin my night vision: On my brightest setting, I turn on my headlamp for no more than a minute and do a very slow 360-degree scan of the area for any interesting shapes and forms on the horizon.I picture it in my mind. I kill my bright light, fire up my dim red headlamp (which is easier on night vision), and wait patiently for my eyes to night-adapt for twenty minutes. But I’m not really blind—I know where I want to be.
- Tip: The excellent night shot is seldom an accident—it’s the result of planning. Familiarise yourself with your location and what it contains before photographing the Milky Way. A great foreground makes a star shot!
Part 2: Taming the Camera for Milky Way Shots – Going Manual and Mastering the Basics
Now we move on to the ‘next step’ where we leave the safety net of Auto Mode behind and start to take control of the camera’s actions – if you want your camera to be proactive and bold, then it has to know your expectations. Speak its language, learn how to tell the camera exactly what you want it to do.
4. Auto Mode Hates the Dark – That’s Why I Switched to Manual Forever
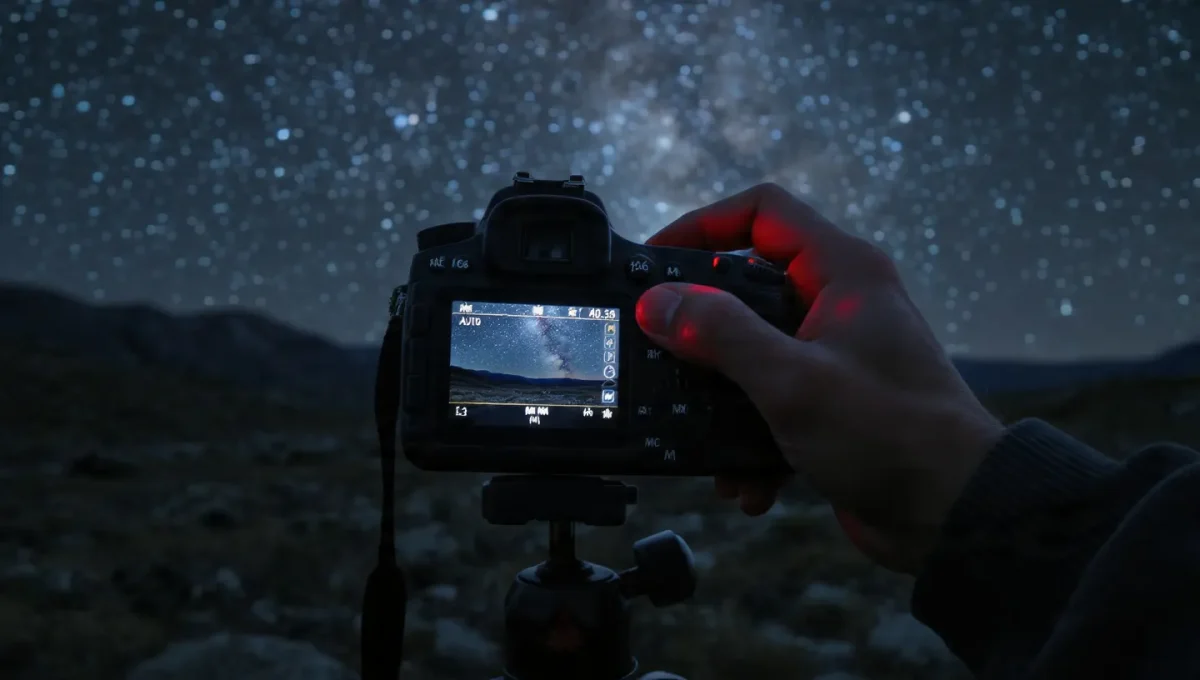
This is the biggest hurdle for every new night photographer: breaking away from Auto. You need to find the mode dial on top of the camera and look for options that likely read: Auto, P, A, S. Swing it around to the “M” (Manual mode).
In the inky blackness suitable for star photography, your camera’s automatic system struggles. It looks at the scene, sees a black hole staring back at it, and determines that something has gone horribly wrong. It will attempt to “fix” things – either by popping the flash (that will light up just a clump of grass two feet in front of you and blind you), or it may not even take a picture. It isn’t designed for it.
- What to Expect: It’s you saying to the camera, “Nope. You don’t know best. It’s dark and I’ve got this”. You’ll now be in direct control of the three sacred pillars of exposure: Aperture, Shutter Speed and ISO.
5. Open the Aperture Wide – Let Every Photon In
Look at the aperture in your camera in the same light as at the pupil of your eye. When you enter a dimly lit room, your pupils enlarge to the utmost, to get the last out of the scanty light. Your lens has got to do the same.
The hole in the lens is described in stops (f/4, f/2.8, f/1.8). The important thing to drill into your mind, because it seems backward, is that a SMALLER f-number means a BIGGER hole. A lens set to f/1.8 lets in four times the light of that same lens at f/3.5.
- Tip: The most important thing to remember here? That for a milky way photoshoot, generally speaking, this is simple: you set your lens to the widest aperture it can handle (its lowest f-number). No exceptions. This is the first setting you should select and lock. This is also why dedicated astrophotography lenses are so expensive; a lens whose maximum aperture is f/1.8 or f/1.4 is excellent for collecting light, and is the best lens for milky way shots.
6. Race the Earth’s Spin – Mastering Shutter Speed with the 500 Rule
I wrestled with this concept at first. I tended to leave my shutter wide open for way longer than I should—a minute? Two minutes!?—to get some light on the sensor. Disaster! My stars weren’t points anymore; they were visible star trails. Why? Because your camera is absolutely still on the tripod, but the Earth is rotating underneath it, very quickly (over 1000 miles an hour at the equator)!!
You want to find that sweet exposure that is long enough to allow the stars to be “painted” by the sensor, but short enough so they aren’t turned into horrible streaks snaking across your image. A good starting point, one that has worked for generations of photographers, is called the 500 Rule.
- The Formula: 500 ÷ [Focal Length of Your Lens] = Maximum Shutter Speed in Seconds.
- Example: Let’s say you’re shooting with a a wide 20mm full-frame lens. 500 ÷ 20 = 25 seconds. Ceiling of 25s. Go ahead and shoot 25s, or 20s, or even 15s. If you shoot 30s or 40s, you’re going to start to see visible star trails appearing in your photo.
- Important Note: This is crucial for crop-sensor (APS-C) users: As your sensor is smaller, your view is “zoomed in”, or “magnified”. You need to apply the “crop factor” (typically 1.5x for Nikon/Sony/Fuji, 1.6x for Canon) before dividing the above. So that same 20mm lens on a Canon crop-sensor camera actually gives you a focal length of 32mm (20 x 1.6), which again leads us to 500 ÷ 32 = ∼15 seconds. This is an important step many beginners miss!
7. High ISO Isn’t the Enemy – It’s Your Best Friend in the Dark
For nearly every other photography technique, we’re taught to stick to the lowest possible ISOs to gain clear, noise-free images. With night photography, though, you have to temporarily disregard that book. It’s a whole new world with a whole new set of physics!
ISO is your sensor’s sensitivity to light. In the darkness, you need to make it very sensitive. A low ISO of 100 or 200 won’t even register the faint light of the galaxy. You need to increase it and be brave about it.
- The Big Picture: Don’t be shy. As a baseline, try ISO 3200 on most digital cameras. Take a test shot. Then look at the back of your screen. Still dark? Increase it to ISO 4000. Dark then? Try ISO 5000 or 6400. You’re hunting for the point where the image on your screen is bright enough that the structure of the Milky Way is readily apparent. A noisy bright photo is light-years ahead of a clean photo that is too dim to see anything in. In post, you can wrestle noise into submission. You can’t magically create information your camera didn’t register in the first place.
8. Soft Focus Ruined My Best Night – Here’s How I Fixed It for Good
This is the mistake that won’t show itself until you’re back home, hours later and filled with hope. Once, I shot an amazing night at a moonless mountain lake with the Milky Way arcing above. I took hundreds of images. I got home, giddy, plugged them into my big computer monitor, and my stomach sank. Every shot—every. last. one.—was just slightly out of focus. The stars had blotchy halos. The whole night was ruined.
Your camera’s autofocus system works well in daylight but struggles in darkness. It’ll hunt back and forth, lens whirring, and never get focus. You’ve gotta do it by hand. I developed a technique, after that horrible night, that has never let me down.
- My Fail-Safe Strategy:
- Find your AF/MF switch on your lens or body and lock it at MF (i.e. Manual Focus).
- Now go to your Live View, so you can see the scene on your back LCD screen.
- Point your camera at the absolute brightest star or planet you can find in the sky. Jupiter is fantastic for this, as is a bright star like Vega or Sirius.
- Locate the digital zoom button (usually a [+] symbol) on your camera, and zoom in on that star on the screen. Push it as far out as your zoom will let you, probably 10x or more. The star should look like a big, fuzzy ball of light.
- Now, with your eye glued to that screen, slowly, gently, patiently twist that focus ring on your lens and watch that ball of light shrink. Keep twisting. It shrinks to a tiny sharp point and if you twist too far, it’s beginning to grow into a ball again. Your job is to rock the focus ring back and forth by tiny, millimetre-sized increments until you find that exact, perfect point where the star is at its absolute smallest and sharpest.
- The Bottom Line: When you find it, you have perfect infinity focus. Don’t touch that focus ring for the rest of the shoot. I’m so paranoid (having been burned so badly), I’ll take a little piece of gaffer tape and tape my focus ring to the lens barrel for the rest of the night.
Part 3: The Artistry – Techniques That Transform a Photo Into a Masterpiece
Now, with that background done, we can visit the more subjective, artsy side of the craft. These are the tools that will help make your photos not merely all technically correct, but rich, true and you.
9. A Sturdy Tripod Isn’t Gear – It’s Insurance for Every Shot
You’re doing long exposures, lasting many seconds. Your camera needs to be as still as a block of granite. My first tripod was a cheap lightweight aluminum tripod, which I more or less got for free, included in a camera bundle. Seemed great to me – until I shot out on my first night with a slight breeze and got home to find half of my shots ruined. The leggy thing was vibrating. A good sturdy heavy tripod with solid legs and a firmer ball-head that doesn’t flop under the weight of your camera was the best money spent I ever made. It’s not just gear, it’s insurance for all of your precious work.
10. The 2-Second Timer Became My Silent Best Friend
On even the most solid of tripods, simply pressing the shutter with your finger can impart a tiny vibration that will desharpen a long exposure. The fix is easy and is standard in every modern camera. Go into your camera’s drive mode settings and select the 2-second timer. Now every time you press the shutter, it will silently count down 2 seconds before it takes the exposure and “shakes it off.”
11. Shooting RAW Isn’t Optional – It’s the Only Way
For my first year of photography, I shot everything in JPEG. It was easy. The images looked good straight out of camera. But when I tried to edit my night shots, I always hit a brick wall. If I tried to pull up the shadows, they turned into a gray, noisy mess; if I tried to enhance the colour, they looked weird and cartoonish. A friend sat me down one night and convinced me to change my camera’s “Image Quality” setting to RAW. And everything changed.
- The Essence: A JPEG is the finished article, a printed photo. The colour, contrast and brightness decisions have been made, and therefore a large amount of image data has been thrown away to keep the file size small. A RAW file is the film negative. All the potential is there – it is the whole, complete, untouched, raw data from your camera’s sensor. Open this in an editing program, and you have an extraordinary amount of headroom to bring out that faint, beautiful nebulosity in the heart of the Milky Way, which is just not there in a JPEG. This is the number one setting in producing good qualityMilky Way photos.
12. Anchor the Sky to the Earth – That’s Where the Story Lives
My first “successful” pictures were only of the sky, and while they were beautiful, felt good, and proved I could actually capture the stars, they failed on the other elements – context, soul, and sense of scope. The photos that truly engage viewers, the ones people say ‘wow’ at, are the ones that anchor you to the Earth.
This is going back to scouting. When you’re outside, don’t just look up. Look around. Is there some gnarled old tree that must have been here for centuries? A quiet little road into the darkness? A powerful profile of some range of mountains? A glassy lake you can infallibly reflect? That’s your foreground. That’s your anchor. That’s your story.
- The Bottom Line: Making the scene with the Milky Way rushing overhead and filling the sky above a strong foreground element is what elevates your image from being simply a picture of stars to a true landscape “work” in its full essence. It gives your viewer somewhere to stand within your frame.
13. Light Painting: The Subtle Trick That Brings Foregrounds to Life
So you’ve found that old barn that you want to anchor your composition. Now, how to take milky way photos that show the barn instead of just a featureless black silhouette? While your camera is doing its 20-second exposure, you lightly illuminate the foreground. My favourite tool for this assignment is my trusty headlamp, set to its lowest white-light level.
The secret here, and I was a miserably slow learner this technique, seems to be “subtlety.” You’re not trying to light up the scene as if midday, you’re not trying to “paint” the scene, you’re trying to “kiss” it with light. You could spend almost your entire 20-second exposure with your light flicked on, and literally for half a second, smooth your light across the barn, and it brings your foreground out of the shadows, makes it a participant. My early experiences were pretty blown out by a factor of ten, but this really gives the oomph to the foreground.
14. The Real Photo Is Born in the Digital Darkroom
I used to get so deflated staring at the back of my camera out in the field. Sometimes that little screen will look dark, flat and lifeless. I’d be convinced I had messed it all up.
- Tips: The shot on the camera is not the final. It’s the raw material. The final “magic,” the real photographic creation, happens in software like Adobe Lightroom Classic or Capture One. This is your darkroom. You take that RAW file, your “digital negative”, and you develop it. You set the White Balance to have the sky be blue. You set the Contrast so that the Milky Way pops right out of the background. You use the Dehaze slider (carefully!) to pierce atmospheric haze and reveal incredible structure in the galactic core. You use powerful masking tools to brighten the foregrounds without having any effect on the sky. You’re not cheating, you’re photographing. You’re working with the data you captured and infusing it with your art.
15. The Most Important Tip: Put the Camera Down and Just Look Up
This may be counterintuitive, but it’s perhaps the most helpful thing I’ve learnt on this long journey. It’s really easy to get obsessed with the technology. We look at the screen, we adjust camera settings, we worry about vibration and focus and composition, and in the act of making the photograph, we forget to live it.
My last, if not best piece of advice for you, fellow night-owl: now that you are settled, focused, interval-timer happily pulling the trigger on the camera mindlessly, step back for a moment and while your headlamp glows in the distance, turn it off and put the phone away and let your eyes in the gloaming get accustomed to the dark and look up.
- “Stand there. Listen to the silence. Enjoy the cool spring air on your face. Take it all in—the vastness, beauty, enormity of the cosmos. Streaking satellite! Flash of meteor! […] That’s the feeling we’re trying to put into our photographs. Heart on our sleeve. And, when we shoot from the heart, merrily, throughout life, the lens is practically an extension of our being, our art will be much the better for it.”