
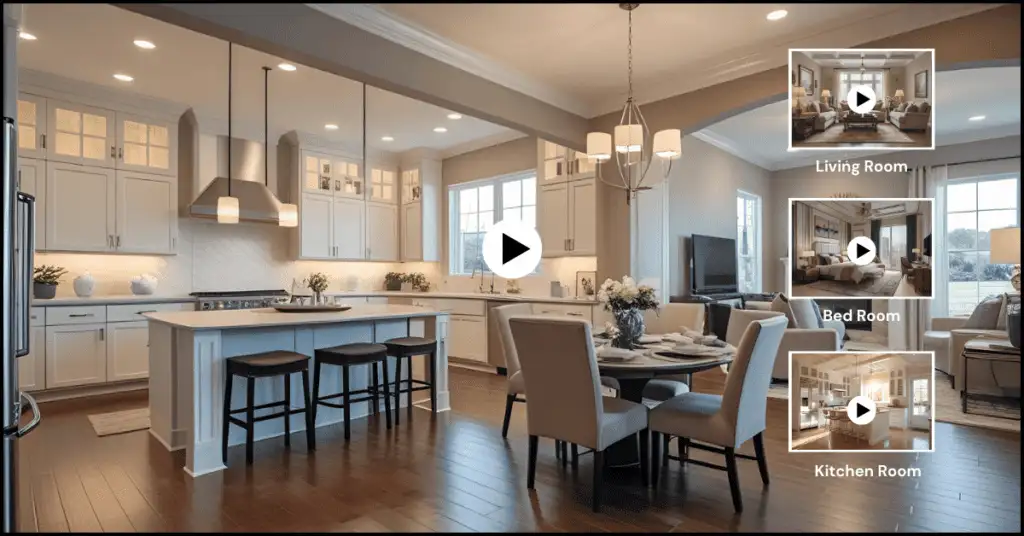
Real estate video editing turns raw property footage into a clear, polished story that helps buyers understand the layout, flow, and key features of a home. Good editing does more than add music and transitions: it keeps exposure consistent, stabilizes movement, removes weak clips, and delivers the right format for listing sites, social media, and YouTube.
This guide walks agents, photographers, and property teams through planning, software selection, editing workflow, export settings, and outsourcing decisions for professional real estate videos.
Reviewed for 2026: The PixelShouters editing team reviewed this guide for current workflows, software options, export standards, and real estate marketing use cases. Software features and pricing can change, so confirm plan details before purchasing.
Table of Contents
Why Real Estate Video Editing Matters
Real estate video editing tips are not only about cutting clips and adding music. The edit must show how rooms connect, keep color and exposure consistent, and move viewers through the property without confusion. Stable footage, readable labels, balanced audio, and an appropriate call to action help buyers understand the listing and decide whether to take the next step.
Benefits of High-Quality Real Estate Videos
- Hold attention: A concise edit removes weak clips and answers practical questions before viewers lose interest.
- Explain the property: A logical sequence can show room flow, exterior access, views, amenities, and neighborhood context more clearly than disconnected clips.
- Build trust: Natural color, straight horizons, stable movement, and honest pacing make the presentation feel professional without misrepresenting the property.
- Improve discoverability: Descriptive titles, captions, transcripts, thumbnails, and supporting page copy help search engines understand the video and its listing context.
Key Points of Editing Real Estate Videos
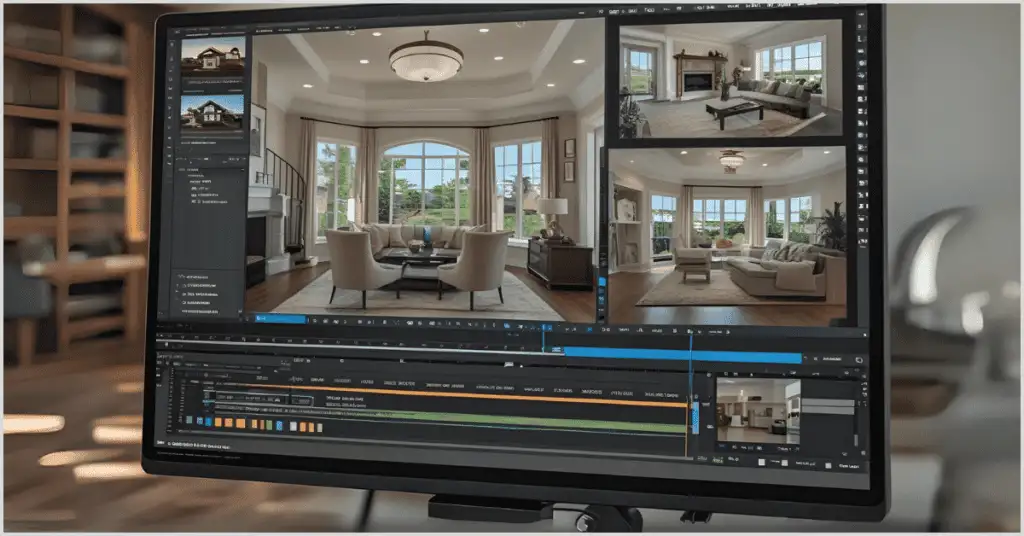
You need technical know-how and creative ideas to make an interesting real estate video. Here are the most essential parts of making videos for real estate that work well.
1. Planning and Pre-Production
Planning prevents a polished edit from becoming a collection of unrelated shots. Decide where the video will be published, who it is for, and what action the viewer should take.
- Define the format: Choose between a listing tour, agent introduction, neighborhood overview, vertical reel, or paid advertisement.
- Build a shot order: Start with the strongest exterior or hero view, move through the home logically, and finish with the location, agent details, and call to action.
- Capture flexible footage: Record stable, high-resolution clips with enough duration at the beginning and end for clean transitions and reframing.
2. Picking the Right Software for Editing
Choose software around the job, team, and delivery schedule. A browser-based editor can suit quick listing videos and social content, while desktop applications provide deeper control for color, audio, motion graphics, and larger projects.
- Browser-based editors: Useful for quick listing videos, templates, captions, and social exports without a desktop installation.
- Adobe Premiere Pro: A professional editor for detailed timelines, color correction, audio mixing, captions, and motion graphics.
- DaVinci Resolve: A strong choice for color grading, audio work, and professional delivery, with both free and paid versions.
- Final Cut Pro: A Mac-focused editor with fast organization, magnetic timeline tools, and optimized performance.
- iMovie or CapCut: Accessible options for straightforward cuts, text, music, and short social videos when advanced control is unnecessary.
Test the export quality, caption workflow, licensing terms, collaboration features, and aspect-ratio options before committing to a tool.
3. Putting the Video Together
A clear sequence keeps buyers oriented. Most property videos work best when they open with the strongest visual, follow a believable route through the home, and end with concise next-step information.
- Opening: Use a strong exterior, drone, or hero-room shot with the property location or main selling point.
- Main tour: Arrange rooms in a logical order and use restrained transitions so viewers understand how the spaces connect.
- Closing: Show the agent or agency name, contact details, listing URL, and a direct call to action.
Match the duration to the channel. A short social reel may need 15 to 60 seconds, while a detailed listing tour can be longer when every scene adds useful information.
4. Enhancing Visuals
Visual corrections should improve clarity without making the property look different from reality.
- Color correction: Balance exposure and white balance across rooms before applying a creative grade.
- Stabilization: Reduce distracting camera movement, but avoid aggressive settings that warp walls and door frames.
- Transitions: Prefer clean cuts, short dissolves, and motivated movement over effects that compete with the property.
- Text overlays: Label important details such as bedrooms, floor area, renovations, amenities, and location in a readable style.
- Still-photo consistency: When listing photos appear in the video, use color-consistent, perspective-corrected images that match the footage.
5. Sound and Music
Audio sets pace and should support the property rather than overpower it.
- Music: Use properly licensed tracks that match the listing and intended audience. Keep the level below narration and important natural sound.
- Voiceover: Use a clear script to explain features that are difficult to communicate visually, such as upgrades, location benefits, or building services.
- Natural sound: Subtle room tone, doors, water, or outdoor ambience can add realism when recorded and mixed cleanly.
- Captions: Add accurate captions because many viewers watch property videos without sound.
6. Adding Branding
Branding should make the source clear without covering the property.
- Logo: Keep it small, consistent, and inside safe margins for vertical and horizontal crops.
- Typography and color: Use the agency brand system consistently across titles, labels, and calls to action.
- Contact details: End with the agent or agency name, phone number, website, and listing URL long enough to be read.
- Reusable templates: Save intro, lower-third, caption, and end-card layouts to speed up repeat listings without making every property look identical.
Step-by-Step Guide to Editing a Real Estate Video
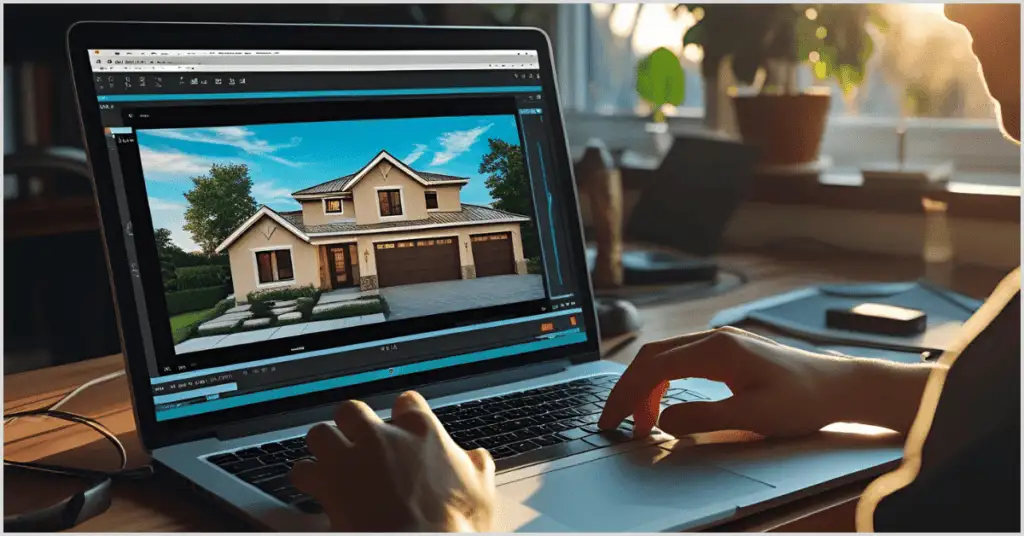
From beginning to end, here is a step-by-step guide on how to make a professional real estate movie.
Step 1: Import and Organize Footage
- Import and back up footage before editing.
- Sort clips by exterior, room, drone, neighborhood, agent, and detail shots.
- Review technically for focus, shake, exposure problems, repeated angles, and privacy concerns.
Step 2: Make a Rough Cut
- Arrange the strongest usable clips in a logical tour order.
- Trim repetition and dead time before adding effects or music.
- Check pacing with a silent playback to confirm that the visual story works on its own.
Step 3: Enhance Visuals
- Correct exposure and white balance shot by shot before applying an overall look.
- Stabilize carefully and crop only as much as the delivery resolution allows.
- Add concise labels for features that improve understanding rather than repeating the listing description.
Step 4: Add Sound
- Add licensed music and edit it to match scene changes.
- Record or import narration only after the picture edit is stable.
- Mix for clarity so narration remains understandable on phones and laptop speakers.
Step 5: Add Graphics and Your Brand
- Add the logo, property details, and contact information using a consistent template.
- Keep important text inside safe areas so platform interfaces do not cover it.
- Use motion graphics selectively to explain information, not decorate every scene.
Step 6: Finalize and Export
- Watch the entire video for flash frames, spelling errors, abrupt audio, color shifts, and disclosure issues.
- Export a high-quality master and create separate versions for the listing page, YouTube, Instagram, TikTok, or paid ads.
- Verify the upload after platform compression and check captions, thumbnails, links, and mobile framing.
Tools and Resources for Real Estate Video Editing
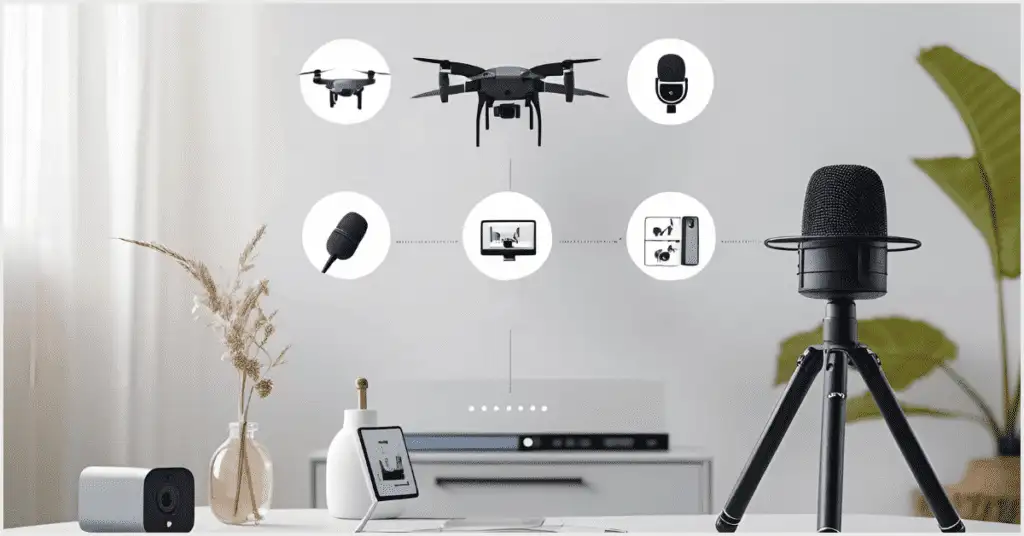
Choose tools according to project complexity, turnaround, team size, licensing needs, and delivery channels.
Video Editing Software
- Adobe Premiere Pro: Detailed timeline control, captions, audio mixing, color correction, and integrations for professional teams.
- DaVinci Resolve: Advanced color, audio, editing, and delivery tools with free and paid versions.
- Final Cut Pro: Optimized Mac workflow for organizing and editing larger property projects.
- CapCut or iMovie: Simpler options for short-form content and straightforward edits.
Avoid hard-coding software prices into your workflow because plans, regional pricing, included features, and usage limits change frequently.
Music and Sound Effects
- Epidemic Sound and Artlist: Subscription libraries for licensed music and sound effects. Confirm that the plan covers client and advertising use.
- Freesound: A community library with varying licenses; check attribution and commercial-use requirements for every file.
- Custom voiceover: Record in a quiet space and keep scripts focused on useful property details rather than repeating on-screen text.
Stock Footage and Graphics
- Pexels and Unsplash: Useful for generic B-roll, but avoid stock visuals that could be mistaken for the listed property.
- Envato Elements and similar libraries: Templates, motion graphics, music, and design assets for teams that understand the applicable license.
- Original listing media: Prioritize footage, photos, floor plans, maps, and graphics that accurately represent the property.
Drone and Camera Equipment
- Camera or phone: Use equipment that can maintain consistent exposure, focus, and frame rate across the shoot.
- Gimbal or tripod: Stable movement matters more than aggressive stabilization after the shoot.
- Drone: Use only where local rules, pilot requirements, property permissions, and weather conditions allow.
- Microphone: Use an external microphone for agent introductions, interviews, or narration recorded on location.
Common Mistakes to Avoid
A technically polished video can still fail when it confuses viewers or misrepresents the listing.
- Overusing effects: Excessive transitions, speed ramps, and motion graphics distract from the property.
- Ignoring audio: Loud music, uneven narration, or background noise makes the video feel unfinished.
- Changing reality: Avoid edits that hide permanent defects, alter views, or create a misleading sense of room size.
- Publishing one format everywhere: Horizontal tours, vertical reels, website embeds, and paid ads need different framing and pacing.
- Skipping captions and metadata: Accurate captions, titles, descriptions, thumbnails, and page copy improve accessibility and context.
- Missing quality control: Check spelling, contact details, disclosure requirements, audio, color, and platform playback before launch.
Trends in Real Estate Video Editing for 2026
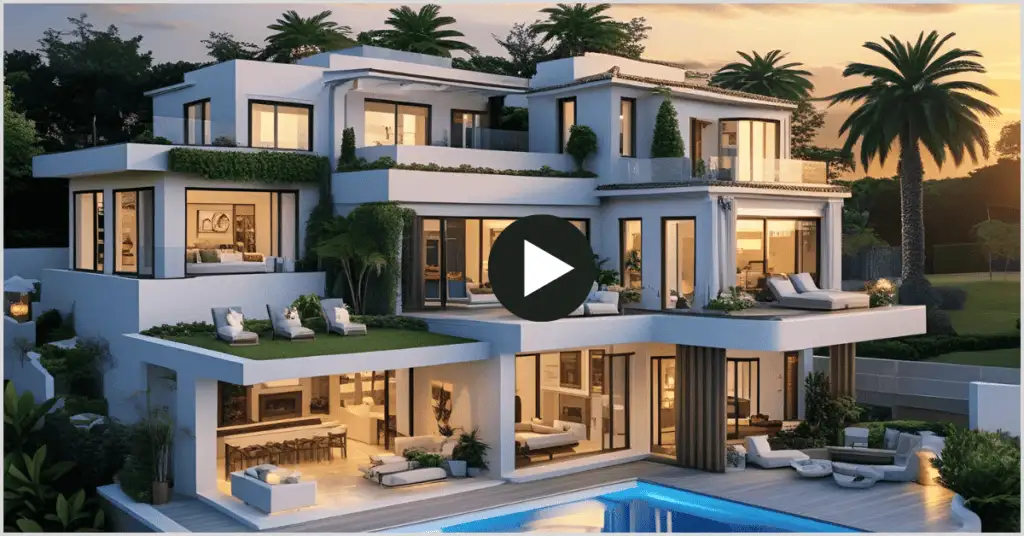
Current workflows are moving toward faster production without sacrificing accuracy or brand consistency.
- Vertical-first versions: Teams increasingly plan dedicated 9:16 edits instead of simply cropping horizontal tours.
- AI-assisted rough cuts: Automatic transcription, clip selection, captioning, reframing, and cleanup can speed up repetitive tasks, but every property claim still needs human review.
- Accessible delivery: Captions, readable text, clear narration, and mobile-safe layouts are becoming standard requirements.
- Reusable brand systems: Agencies are building templates for intros, lower thirds, maps, calls to action, and exports while preserving a distinct look for each property.
- Multi-channel packages: One shoot can produce a full tour, short reels, agent clips, neighborhood segments, and silent website loops when the edit is planned before production.
How to Outsource Real Estate Video Editing
Outsourcing can reduce turnaround pressure when the editor understands property marketing, brand requirements, and factual accuracy.
- Start with a paid test: Send representative footage, not only an easy project, and compare pacing, color, audio, captions, and communication.
- Provide a clear brief: Specify audience, platform, duration, aspect ratio, music direction, branding, required disclosures, and delivery deadline.
- Define deliverables: Confirm the master format, social versions, captions, thumbnail, project files, source-file retention, and revision policy.
- Review relevant work: A general showreel is less useful than examples of property tours, agent videos, reels, drone footage, and mixed photo-video edits.
- Protect the workflow: Confirm file-transfer security, music and asset licensing, ownership, confidentiality, backups, and deletion timelines.
Use freelancers for occasional projects when you can manage the brief and quality control internally. A dedicated editing partner is usually a better fit for recurring volume, consistent branding, and predictable turnaround.
In Conclusion
Successful real estate video editing is built on clear planning, honest visuals, controlled pacing, understandable audio, and a delivery format matched to the channel. Choose software according to the work, keep property claims accurate, and use a repeatable quality-control checklist before publishing.
When photos and video are part of the same campaign, keep color, perspective, brightness, and branding consistent across every asset. That consistency makes the listing feel intentional and helps buyers move from the first impression to the next action.