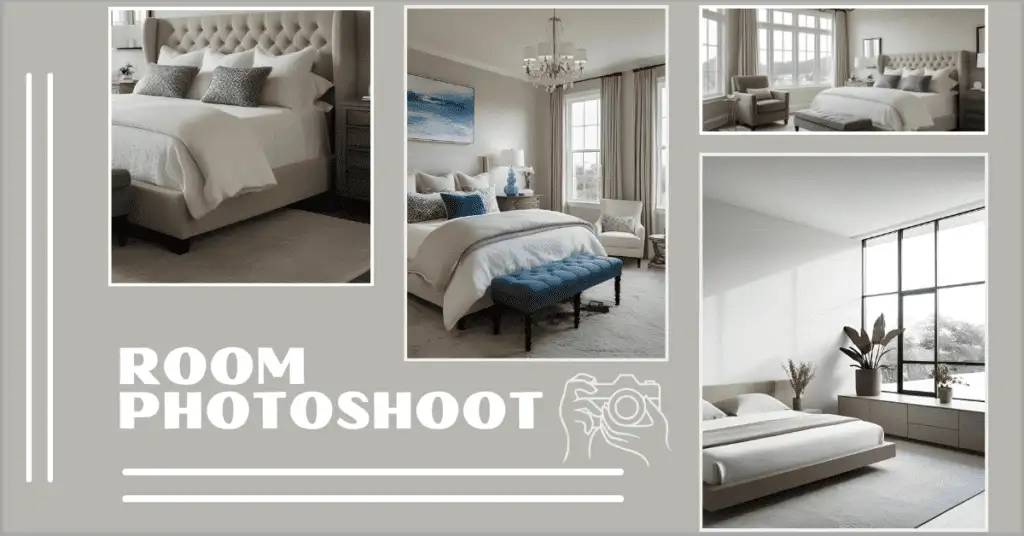
It takes creativity, skill, and close attention to detail to use photos to show how a room makes you feel. That’s always the case in a cozy bedroom, a nice office, or a fancy living room. You can see what the room looks like in a picture. Anyone, from the owner to the real estate agent to the interior designer, can use photos to make a room look better and tell a story. We’ll show you everything you need to know about how to plan, shoot, and edit a great room shoot in this guide. Let’s start right away!
Table of Contents
Why a Room Photoshoot Is Important
A room photoshoot is more than just snapping pictures of furniture and décor. It’s about catching a space’s mood, how it works, and how it looks. This is why a room photoshoot is essential:
- Real estate marketing: Listings can draw more buyers or renters to a place if they have high-quality images of it.
- Room photoshoots allow interior designers to show off their work and get new clients.
- People who write content on social media sites and blogs depend on beautiful room pictures to keep people interested.
- Personal Memories: People may want to take photos of their space for nostalgia or to show off their style.
Whatever the reason for taking the room picture is, it needs to be carefully planned and done to look good. Take it one step at a time.
Step 1: Planning Your Room Photoshoot

It’s essential to get ready before you pick up a camera. A well-planned room photoshoot saves time and ensures that the pictures you get are exactly what you want them to be.
Write down your goals
Why do you want to do this picture shoot? You can use Instagram to show off your work, sell your house, or make posts. What you want to achieve will determine how the shoot is set up, lit, and styled.
As an example:
- Show the size of the room and how it is configured by capturing broad views of it.
- When designing the inside of a house, consider the colours, forms, and other elements that add character.
- Add items particular to your property and yourself to give it the impression of someone having lived there.
Check out the Space
See the room ahead of time to understand what it offers. Take note of these things:
- Natural light: At what time of day does the window allow in most light?
- Regarding furniture and décor, do any items truly jump out?
- Issues: Do ancient features, clutter in corners, or stains need to be corrected?
- Angles: Figure out where you can shoot from the best view. It’s often best to take wide shots from the corner.
Make a list of shots
A shot list helps you stay organized and gets all the needed pictures. For a room shoot, your list could include:
- Wide shots of the whole room were taken from different points of view.
- Close-ups of key features (e.g., a fireplace, chandelier, or rough wall).
- Some examples of décor items are chairs, artwork, plants, and more.
- Use books, coffee cups, or blankets as props in your lifestyle shots for a cozy feel.
Pick the Right Time
When photography, light is crucial; natural light is often ideal. Photographs are ideally taken early in the morning or late in the afternoon during the “golden hour.” Bring things that can make light if the room lacks natural light.
Get the Room Ready
A place that is clean and free of clutter is necessary for a professional photoshoot. Do these things:
- Clean Clearly: Wipe down surfaces and Hoover rugs and wash windows to eliminate annoying smudges.
- Remove unnecessary things like family pictures, cables, and other small items.
- Style the Room: Put in lovely decorations, like fresh flowers, well-organized shelves, or a throw blanket.
- Fix Flaws: Cover up scuffs on the wall, repair burned-out bulbs, and tighten up any fixtures that aren’t tight enough.
Step 2: Get the right gear for a room photoshoot
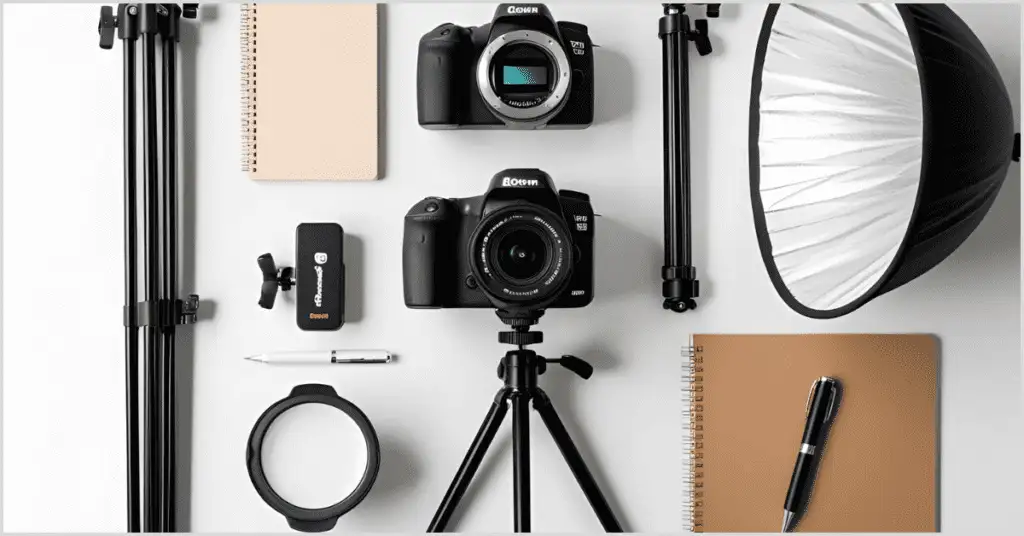
You do not need an expert studio to get good results, but having the right tools is helpful. For a room shoot, you’ll need these things.
Camera
A smartphone can work for casual photos, but a DSLR or mirrorless camera gives you more power and better pictures. Some popular choices are:
- Canon EOS R5: Great for taking photos with a lot of detail and in low light.
- The Sony A7 III is known for having a wide dynamic range and flexibility.
- Perfect for crisp, detailed inside photos, the Nikon Z6
If your budget is tight, entry-level cameras such as the Canon Rebel T7 or Nikon D3500 are decent options.
Lenses
The lens you pick will change how your room picture looks. For the inside, think about:
- Wide-Angle Lens (16-35mm): This lens is great for getting photos of the whole room, even in small ones. Watch out for blurring around the edges.
- Standard Lens (50mm): Great for taking pictures of details and getting a realistic look.
- Tilt-Shift Lens: This is an advanced feature for fixing perspective problems in images of buildings.
Using a Tripod
You need a tripod for crisp, clean images, particularly in low light. Look for a solid one like the Vanguard Alta Pro or the Manfrotto Befree that you may modify in height.
Lighting
Even though natural light is best, artificial lighting can make your room photoshoot look better. Some options are:
- Softbox lights spread light out so it has a soft, even glow.
- LED panels are portable, and you can change their colour temperature.
- Reflectors bounce light off of surfaces to fill in dark areas.
Other Accessories
- Remote Shutter Release: This feature keeps the camera from shaking during long shots.
- Lens Filters: Glare from windows or shiny objects can be cut down with polarising filters.
- Grey Card: This tool helps you get the white balance after processing.
Step 3: Get the room ready for the photoshoot
It’s time to set up the shoot now that your stuff is ready. To make a professional setting, do these things.
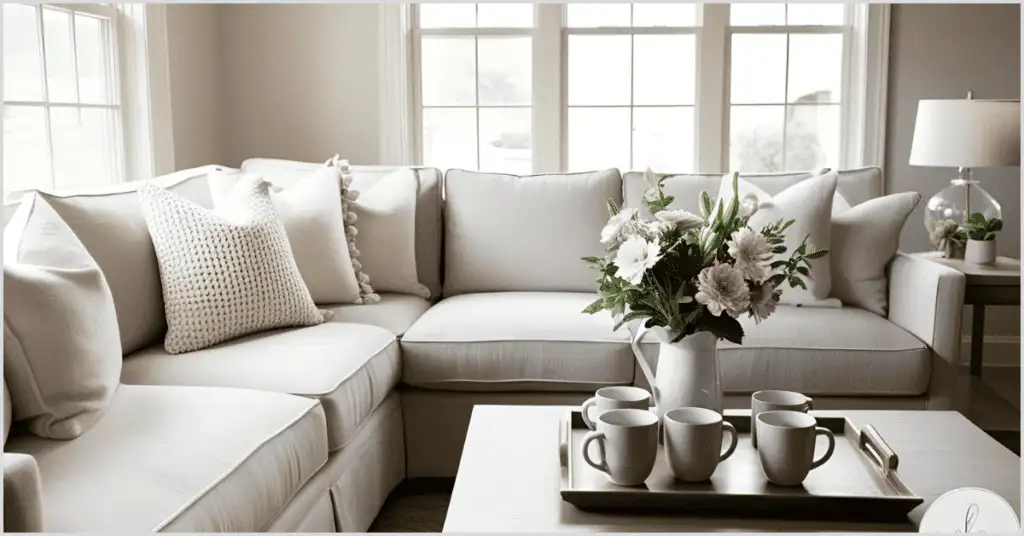
Set the Scene in the Room
Staging makes the room look better and helps you reach your shooting goals. Advice on setting up:
- Balance the Room: Move the furniture around to make the room feel open and friendly.
- Could you give it some texture and colour? A home can seem cozier and more appealing with throws, pillows and blankets.
- If you arrange items on the table, such as a laptop or a tray containing coffee drinks, it will seem as though someone has lived there.
- Put Things in Place to Draw Attention to Them: Move furniture to make things like a fireplace or big window stand out.
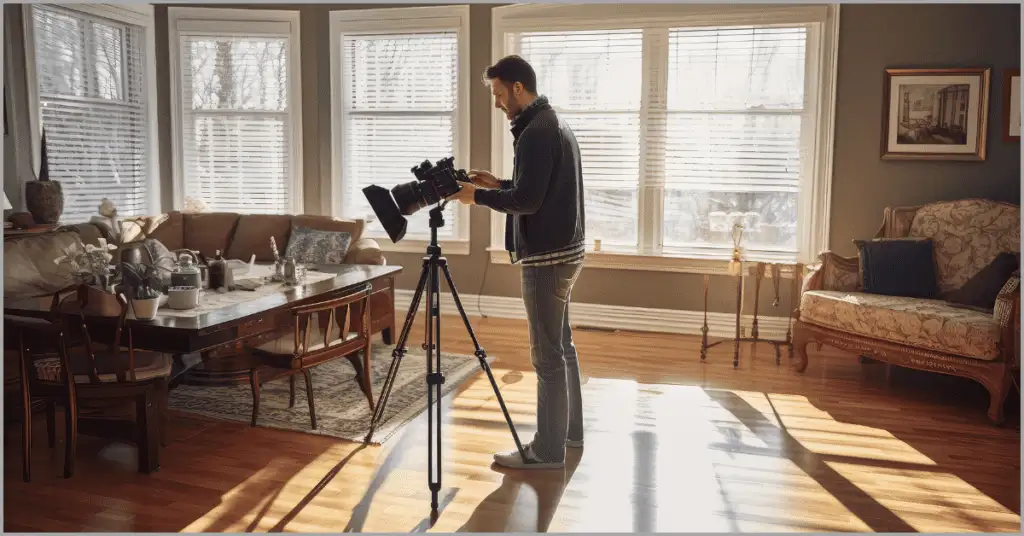
Get your Camera ready
Put your camera on a stand to make it stable. Key settings to change:
- Aperture (f/8–f/11): Gives you a deep depth of field that keeps the whole room focused.
- ISO (100–400): Keeps pictures clear and noise-free when there is a lot of light.
- Shutter Speed: Change the speed depending on the light. For example, if it’s dark, use a slower speed (like 1/30s) with a tripod.
- Set the white balance to “Daylight” for natural light, or use a grey card to make your own.
Plan your shots
In a room photoshoot, the composition is essential. Here are some rules to follow:
- Rule of Thirds: To balance a design, put essential parts (like a sofa or window) along the grid lines.
- Leading lines: Point the observer to something using a portion of the structure, such as beams or flooring.
- Ensure the camera is level so walls seem straight rather than slanted. Your tripod should have a bubble level.
- Frame Carefully: Ensure no wires or other unwanted items enter the frame.
Light up your work
The lighting in a room can make or break a picture shoot. How to be successful:
- Open your blinds and windows when you want to let in as much natural light as possible.
- Add artificial light to help. Use saltboxes or LED panels to fill in shadows or brighten dark areas.
- Control Glare: Put lights that won’t reflect off glass or other shiny objects.
- Take several pictures with various exposures (like -2, 0, and +2) to mix the HDR images afterwards.
Step 4: Take pictures of the room
It’s time for shooting once everything is set up. Here’s how to snap very fantastic photos.
Start with wide shots
Start with wide-angle shots to understand how the room is laid out. Advice:
- To make the room feel bigger, shoot from the sides.
- For a realistic look, hold the camera at chest level.
- Add essential elements like windows, doors, or architectural features.
Take pictures of details
Focus on special features that reveal the room’s narrative. For example:
- A close-up of the feel of a plush cushion.
- A carefully stacked bookshelf featuring vividly colorful covers.
- On the coffee table sits a vase containing fresh flowers.
Invest in a standard lens (50mm) to prevent distortion of the images.
Play around with angles
Don’t only see things one way. To spice things up, try different angles:
- If you want to draw attention to features in the furniture or ceiling, shoot from close to the floor.
- High Level: Use a step ladder to look at the room’s plan from above.
- Straight-On: For a clean, classical look, shoot at eye level.
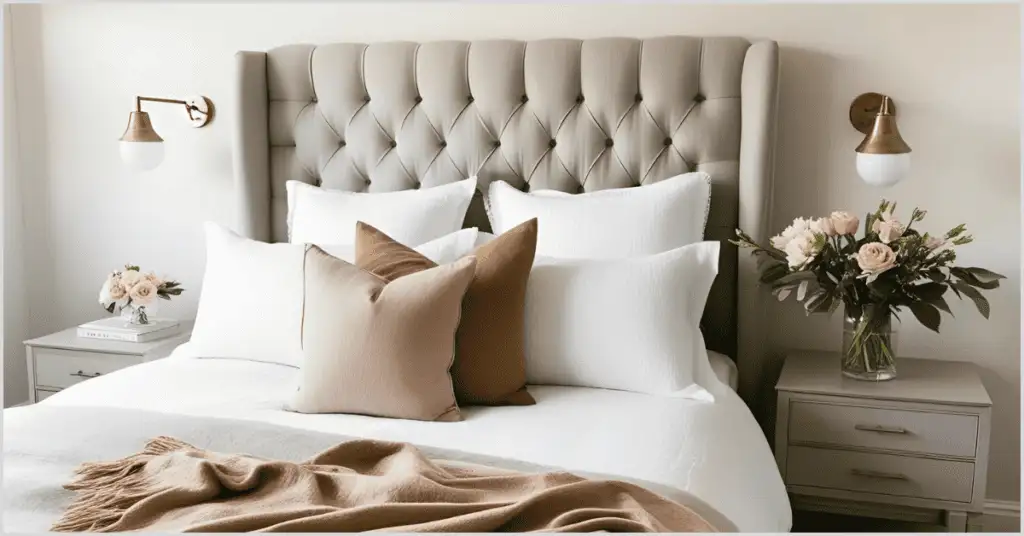
Include elements of your lifestyle
Add lifestyle aspects to make it feel more personal and welcoming. For example:
- A soft blanket spread out over a chair.
- A mug that’s hot on a side table.
- A seat with a book open.
The room feels lived-in and friendly because of these little touches.
Check and Make Changes
The LCD screen on the camera lets you see your pictures as you shoot them. Find these:
- What is the exposure? Are the pictures too dark or too light?
- Composition: Is the frame balanced, and are the essential parts in focus?
- Things that could distract you: Did you miss any items or shadows?
Change the lighting, framing, or camera settings if you need to.
Step 5: Processing the photos you took in the room
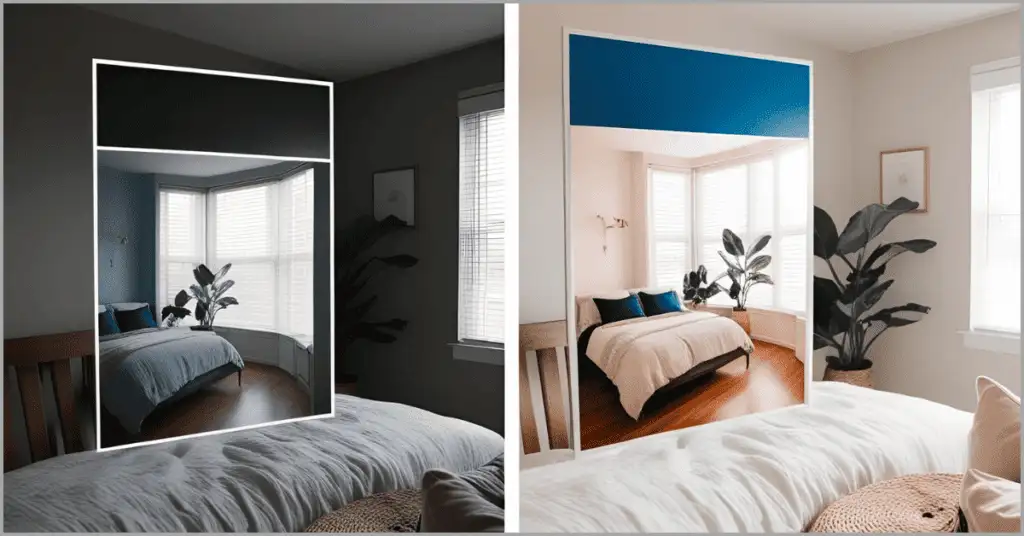
When you edit your room pictures, they come to life. Post-processing brings out the best in colours, fixes flaws, and ensures the final result looks excellent.
Pick Out the Right Tool
Some popular tools for editing pictures taken in a room are:
- Colour fixing and editing in groups are easy with Adobe Lightroom.
- You can edit and improve photographs a lot with Adobe Photoshop.
- PixelShouters is an easy-to-use services for making quick, professional changes.
You can use PixelShouters to edit photos
PixelShouters is an excellent choice for people who want an easy-to-use but powerful editing Company. Pixelshouters is made for newbies and experts, with experts for improving photos taken in a room. PixelShouters can do this for you:
- Change the contrast, brightness, and intensity to make colours stand out.
- Fix lens misalignment to get lines that are cleaner and straighter.
- It is easy to eliminate things you don’t want, like a stray wire or a wall mark.
- Use presets to style multiple pictures in the same way.
PixelShouters is great for developers or real estate photographers who need to make quick, high-quality changes without having to learn a lot of tools.
Simple Steps for Editing
To improve your pictures, do these things:
- Bring your photographs into your editing software and arrange them by type of shot (wide, detail, etc.).
- Correct Exposure: Change the contrast and brightness so the room looks realistic but well-lit.
- Colour Balance: Use white balance tools to fix any colour effects, like yellow tones from indoor lights.
- Sharpen Details: Use subtle sharpening to improve textures like wood grain or cloth.
- Curve and Straighten: Curve the borders to fix tilted walls and crop the image to make it look better.
- Get Rid of Distractions: To eliminate flaws, wires, or reflections, use cloning or healing tools.
More advanced methods
For professional effects, think about making these advanced changes:
- HDR Blending: Add several exposures to get the right mix between dark rooms and bright windows.
- Lens Correction: To get cleaner lines, fix the barrel distortion from wide-angle lenses.
- Colour Grading: Set the scene with soft tones, like warm or cool.
- Virtual staging lets you fill empty rooms for real estate shoots with computer furniture or decorations.
Sending your pictures out
You should export your pictures in the correct format and resolution:
- You can use JPEG files on the web for real estate ads or social media. Set the DPI to 72 to 150.
- PNG is the best format for high-quality photos or images that are see-through.
- TIFF: This format can be used for professional printing or storing.
If you want to use a file online, keep it under 2MB so that it loads quickly without losing quality.
Step 6: Share and use the pictures you took in the room
After you’ve changed your pictures, it’s time to show them to everyone. Here’s how to get the most out of your room shoot.
For Home Sales
- You can add pictures to selling sites like MLS, Zillow, or Redfin.
- Putting together pictures and 360-degree pictures lets you make virtual tours.
- When you post on social media, use hashtags like #RealEstatePhotography or #RoomPhotoshoot.
To Design the Inside
- You can add pictures to your design blog or online portfolio.
- Share on Instagram and Pinterest to get new clients.
- Send your work to design blogs or mags to get noticed.
For People Who Make Content
- Use interesting comments when you post on Instagram, TikTok, or YouTube.
- Add pictures to blog posts about home décor or daily life.
- Work with brands to get sponsored content that includes pictures of your room.
For Your Use
- Print photos to put in a book or hang on the wall.
- Tell your family and friends about your house to show it off.
- Keep track of changes to the design or improvements over time.
Things you should never do wrong during a room photoshoot
Photographers of all levels make mistakes. Here are some things to avoid:
- Overusing Wide-Angle Lenses: Furniture and walls can look distorted in extensive shots.
- Ignoring Clutter: Small things like tissues or wires can ruin a picture that would have been otherwise perfect.
- Bad Lighting: A room can look cold with harsh shadows or lighting that isn’t even.
- Not Editing: Without post-processing, raw photos rarely look professional.
- Not Paying Attention to Composition: Bad framing or shots that aren’t balanced can take away from the room’s charm.
How to Make Your Room Photoshoot Stand Out
Here are some tips from pros that will help you get better photos of your room:
- Tell a Story: Use setting and props to make a story, like a cozy reading nook or a place to get work done.
- Try Different Seasons: Take pictures of the same room during different times of the year to see how the light and décor change.
- Use Reflections: Mirrors or glass surfaces add depth and imagination.
- Hire a Pro: A professional shooter will make your pictures look better if you can afford it.
- Practice Patience: Take your time with every shot, from setting it up to adjusting it.
In conclusion
A room photoshoot is a great way to show off a room’s beauty, usefulness, and charm. You can make stunning photos that captivate your audience if you carefully plan, use the right services, master lighting and layout, and polish your photos services like PixelShouters. This guide will teach you how to do a professional room photo shoot, whether you’re a homeowner, real estate agent, interior designer, or content maker. Get your camera ready, set up your room, and start taking pictures of the magic of your room right now!
Room photos need clean capture and clean editing
A strong room photoshoot starts with staging, angle, lighting, and composition. The edit then finishes the image by balancing exposure, correcting color, straightening verticals, and removing small distractions.
For real estate interiors, shoot with the final listing gallery in mind.