How to Edit Real Estate Videos: 10 Pro Tips
In the arena of real estate marketing, video content has taken center level. High-best real estate films could make all of the difference in showcasing homes and attracting capability buyers. The potential to create enticing and professional real estate videos is a treasured talent in cutting-edge aggressive market. In this complete guide, we can delve into 10 expert suggestions to help you edit real estate videos that now not simplest capture attention but also bring the essence of houses effectively.
10 Tips to Edit Real Estate Videos
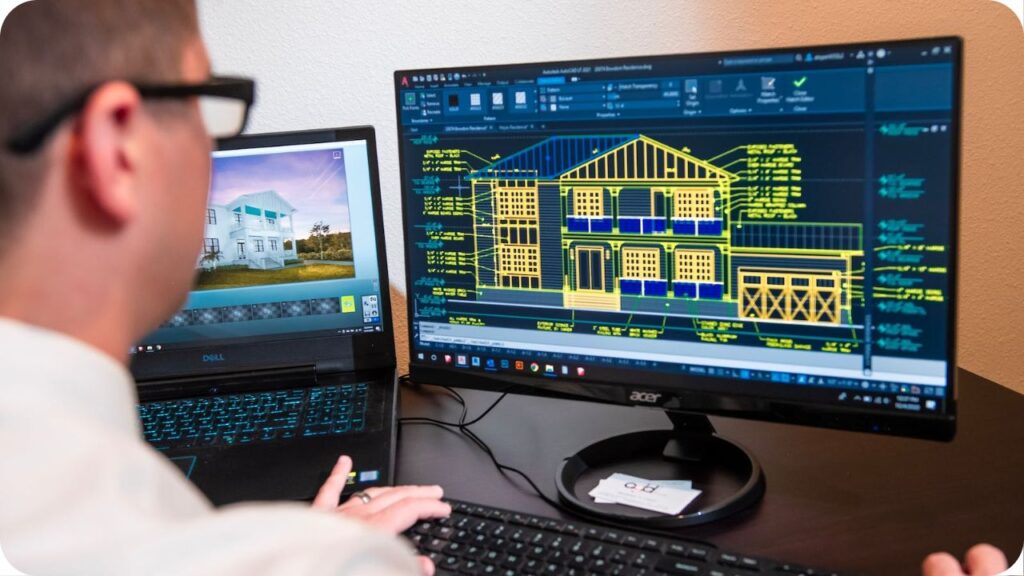
1. Equipment and Software
To embark on your journey to create extremely good real estate motion pictures, you ought to begin with the right device and software program. The foundation of a successful video is the satisfactory of your pictures. Invest in an amazing digicam, tripod, and stabilizers. High-decision cameras with splendid dynamic variety and occasional-mild talents are especially beneficial in capturing the greatest info of houses.
Tripods and stabilizers make sure regular photographs, allowing you to showcase the property smoothly and professionally. In real estate films, visitors assume stability and clarity, so those tools are essential.
When it comes to video editing software, you have several options to select from, with Adobe Premiere Pro, Final Cut Pro, and DaVinci Resolve being some of the most popular alternatives. These packages provide a big range of functions and talents, which, when mastered, can take your video editing to the subsequent degree.
It’s critical to get yourself up to speed with the software program you choose to apply. Understanding the numerous device and functions, as well as keyboard shortcuts, can considerably speed up your workflow and help you obtain greater polished results.
2. Organizing Footage
Efficiently organizing your video files and property is the cornerstone of a easy enhancing procedure. A disorganized workspace can lead to unnecessary delays and confusion.
Before you start your project, create a logical and well-structured file system. This includes a dedicated folder for your project, subfolders for video clips, audio files, images, and any other assets. Each file should be labeled clearly and descriptively, so you can easily locate what you need when you need it.
Additionally, create a storyboard or shot list to help you plan the sequence of shots and organize your footage accordingly. A well-organized project ensures that you can quickly find the clips you want to use, saving you time and simplifying the editing process.
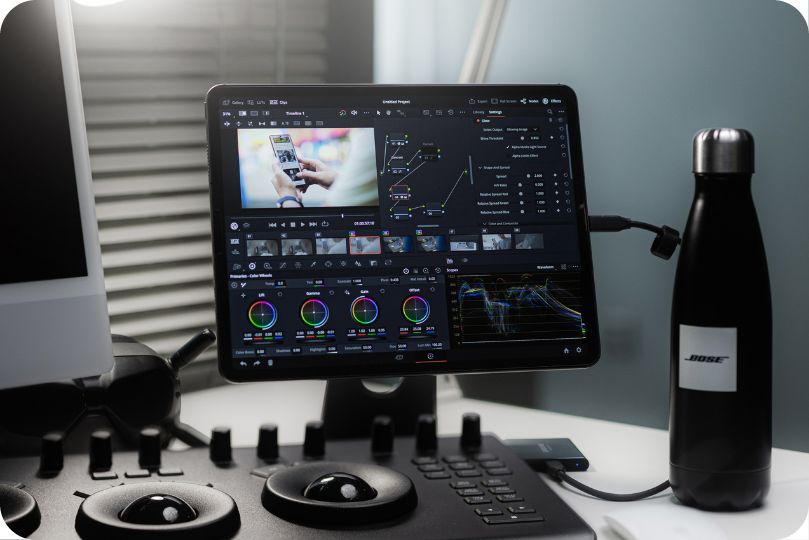
3. Color Correction and Grading
The visual quality of your real estate videos is paramount. Color correction and grading play a pivotal role in enhancing the overall look of your videos. These processes help you correct any inconsistencies in color and lighting and create a consistent, visually appealing aesthetic.
Start by correcting exposure and white balance issues in your footage. Ensure that the colors are accurate and that there is no overexposure or underexposure. This provides a balanced foundation for your color grading.
Color grading empowers you to establish the ambiance and atmosphere of your video. It can be particularly useful in real estate videos to create a warm and inviting atmosphere. Experiment with different color grading presets or create your own to establish a unique style for your videos.
Remember that consistency is key. Your color grading should be uniform throughout the video to create a cohesive look. This consistency helps convey a sense of professionalism and attention to detail.
4. Stabilization and Smooth Transitions
Shaky footage can detract from the quality of your real estate videos. Smooth, steady shots are crucial for providing viewers with a sense of stability and professionalism. To achieve this, you need to focus on stabilization techniques during both shooting and editing.
During the filming phase, use stabilizers like gimbals to ensure that your shots are as stable as possible. These devices help reduce unwanted camera movements and vibrations, resulting in smoother footage.
However, even with the best equipment and stabilization techniques, there may still be some subtle shakes or vibrations in your footage. This is where post-production stabilization comes into play. Most video editing software provides tools for stabilizing shaky shots. These tools analyze the movement in your footage and apply corrections to reduce unwanted motion.
In addition to stabilization, pay close attention to transitions between clips. Smooth transitions, such as crossfades, dissolves, or simple cuts, can make your video flow seamlessly. Avoid jarring cuts that can disrupt the viewer’s experience. Well-executed transitions maintain the overall continuity of your real estate video.
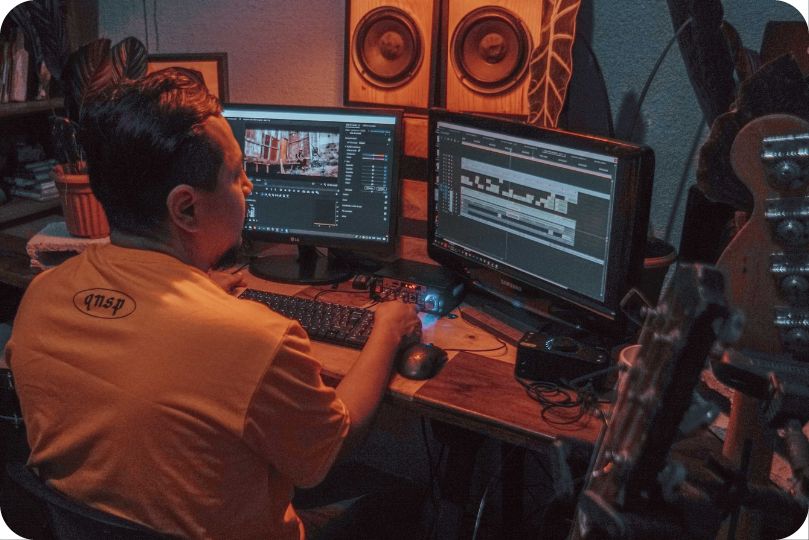
5. Audio Enhancement
High-quality audio is just as crucial as high-quality visuals. Poor audio can quickly turn viewers away, so it’s essential to invest in capturing and enhancing clear and crisp sound.
Start by using an external microphone to capture clean and high-quality audio. A shotgun microphone is a popular choice for real estate videos as it can pick up audio directly in front of the camera while minimizing background noise.
During the editing process, focus on audio enhancement. Remove any background noise or unwanted sounds that may have been captured during filming. Audio editing software can help you clean up the audio and ensure that dialogues are clear and easily understandable.
Pay attention to audio levels and ensure that they are consistent throughout the video. Unpredictable changes in volume can be distracting and unprofessional. Properly mixed audio, including dialogue, music, and sound effects, can greatly enhance the overall viewing experience.
Music can also play a significant role in creating the right mood for your real estate video. Choose background music that complements the property and adds depth to the video. However, be careful not to overpower the dialogue or become too distracting.
6. Motion Graphics and Text Overlays
Motion graphics and text overlays are valuable tools for conveying information and enhancing the professionalism of your real estate videos. They allow you to display key details about the property, such as pricing, square footage, and unique selling points.
When using motion graphics and text overlays, it’s essential to strike a balance. They should enhance the viewer’s understanding of the property without overwhelming the video. Keep the design simple and consistent with your branding.
Ensure that the text is easy to read and doesn’t obstruct essential visual elements. Use motion graphics sparingly and strategically, so they serve as valuable additions rather than distractions.
Text overlays can also be employed creatively to introduce different sections of the video or provide context. They can guide the viewer’s attention and convey important information in a visually engaging manner.
7. Storytelling and Narrative
Real estate videos are more than just visual tours of properties; they are an opportunity to tell a story. Effective storytelling can make your videos engaging, memorable, and relatable to potential buyers.
View the property as the central figure in your storytelling. Commence with an engaging introduction to pique the viewer’s curiosity. Highlight the property’s unique features and the lifestyle it offers. Showcase the exterior, the entrance, the interior, and any outdoor spaces.
Think about the flow of the video and how you can create a seamless and engaging experience for the viewer. Use transitions that guide the viewer through the property, building anticipation for what they will see next.
Highlight the property’s potential as a future home. Help viewers envision themselves living in the space by presenting it as more than just a structure but as a place where memories can be created.
Testimonials and interviews with current residents or homeowners can add a personal touch to your narrative, providing authentic perspectives on what it’s like to live in the area or the property itself.
8. Drone Footage Integration
Drone footage has become a game-changer in real estate videos. It provides a breathtaking, bird’s-eye view of the property and its surroundings, giving viewers a comprehensive understanding of the property’s layout and its proximity to key amenities.
If you have access to drone footage, make sure to integrate it seamlessly into your video. Drone shots can showcase the property’s location, the size of the land, and the beauty of the surrounding landscape. They can also highlight unique features like swimming pools, gardens, or the property’s proximity to parks or water bodies.
Ensure that the drone shots are stable and well-composed. Plan the drone footage carefully to capture the property from various angles and elevations. The integration of drone footage adds depth and a sense of grandeur to your real estate video, making it more captivating and informative.
9. Final Touches and Exporting
As you approach the final stages of editing, it’s time to focus on the finer details that can elevate your real estate video to the next level. These final touches can significantly impact the overall quality and professionalism of your video.
Review your video to ensure that all aspects, from visuals to audio, are polished and error-free. Pay attention to any imperfections or inconsistencies in the footage, and make necessary adjustments. Check that color correction and grading are consistent throughout the video.
Make sure that all audio levels are balanced and that dialogue is crystal clear. Review the transitions between clips to ensure they are smooth and do not disrupt the viewer’s experience.
When you are content with the end product, it’s time to proceed with video export. The export settings you choose depend on the platform where you intend to showcase your video. Different platforms may have specific requirements for video format, resolution, and compression.
For example, if you plan to upload your video to YouTube, you should select export settings that are compatible with the platform’s recommendations. This ensures that your video will look its best when viewed by a wider audience.
After exporting your video, it’s a good practice to review it one more time to ensure that the quality has been maintained. Pay attention to any compression artifacts or quality degradation that may have occurred during the export process.
10. Collaboration and Feedback
The final tip for editing real estate videos is not a technical one but a critical aspect of the creative process—collaboration and feedback.
Video editing can be a solitary endeavor, but it benefits greatly from input and perspectives from others. Consider sharing your work with colleagues or clients and welcome their feedback. Fresh eyes can spot issues or suggest improvements that you might have missed.
Collaboration can lead to a more refined and engaging final product. It’s an opportunity to learn and grow as an editor and to create videos that resonate more effectively with your audience.
In the collaborative process, be open to constructive criticism and be willing to make necessary revisions to enhance your video. Seek out the opinions of individuals who represent your target audience to ensure that your real estate video meets their expectations and resonates with their preferences.
Conclusion
In conclusion, the process of editing real estate videos involves much more than mere technical skills. It’s about creating engaging, informative, and captivating narratives that showcase properties in their best light. These ten pro tips encompass the technical aspects of editing as well as the creative elements that transform a video into a compelling story.
With the right equipment and software, efficient organization of your assets, adept color correction and grading, effective stabilization and transitions, clear and balanced audio, and thoughtful use of motion graphics and text overlays, your videos will capture viewers’ attention from the very beginning.
Embracing storytelling and narrative, integrating drone footage, paying attention to final touches, and collaborating with others will help you elevate your real estate videos to a professional level. The end result will not only showcase the properties effectively but also leave a lasting impact on your audience.
As you continue to hone your video editing skills and apply these professional techniques, your real estate videos will not merely be property showcases but captivating stories that draw viewers in and leave a lasting impression. Over time, your videos will set a new standard in the real estate industry, making you a sought-after expert in your field.
So, grab your camera, launch your video editing software, and let your creativity flow. Your real estate videos will be the stars of the market, helping properties find their new owners in an ever-competitive world.
With these ten pro tips, you’re well on your way to becoming a real estate video editing master. Happy editing!