The lens flare is the main test imposed on photographers. When you start by taking an excellent shot while capturing the picturesque environment, moving image, or portrait and then the lens flares up, know that the flare can take on this form.
When the lens also flares up unexpectedly, the photo may get the frames with a flare. Despite this, obtaining your freedom through the guide will enable you to learn how to eliminate lens flare. We will go from explaining the lens flare to applying various techniques to prevent it, in addition to post-production methods and advanced ideation with the removal and/or introduction of appropriate lens flare.
Table of Contents
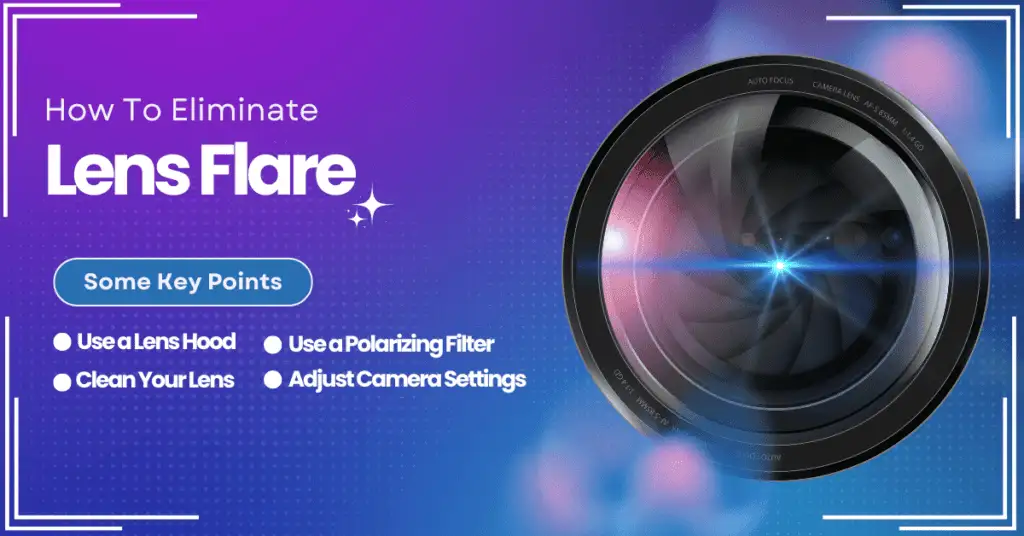
What is Lens Flare?

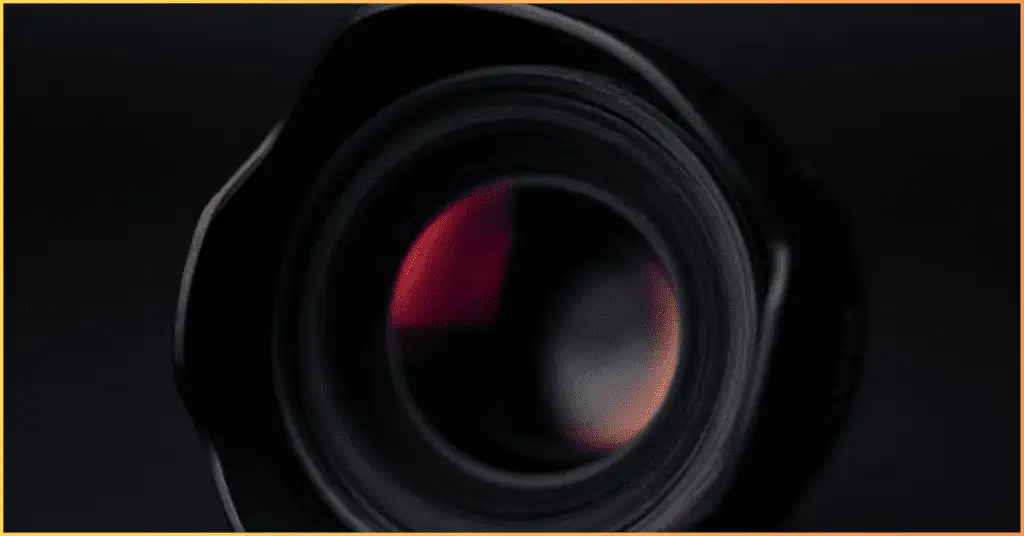
A phenomenon called lens flare is created by the light that your camera lenses are exposed to which is then spread to different surfaces and aperture blades inside the lenses.
This way, you see the streaks, circles, or haze under your pictures or videos. Flares can come in various colours, such as red lens flare, blue lens flare, white lens flare, purple lens flare, and green lens flare, and the quantity and colour also depend on the light source and the lens coating.
Though there are instances where lens flare adds a cool or dramatic effect (think J.J. Abrams-style anamorphic lens flare), mostly, it is an undesired effect that results in low contrast and image blurring. Learning to eliminate lens flare becomes crucial to creating clear visuals professionally.
Causes of Lens Flare
The first step in handling it is knowing the causes of lens flare. Here are the factors that make the flare worse:
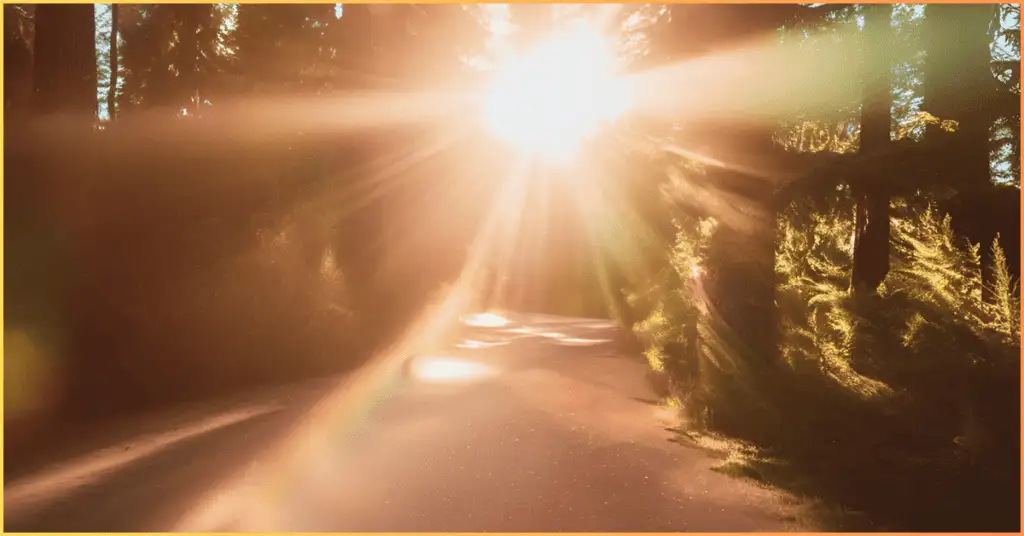
- Bright Light Sources: Whether outdoor sunlight, studio lights, or streetlights, they can cause flare, especially when they are close to or in the frame.
- Lens Design: Cheaper lenses with poorly applied anti-reflective casings are likely to flare.
- Aperture Shape: The number and type of aperture blades determine the appearance of the flare.
- Filters: Adding filters like UV, ND, or polarizing filters sometimes increase flare, especially if they are of poor quality.
- Angle of Light: Shooting into the light creates flare more commonly.
How to Eliminate Lens Flare: Practical Tips and Techniques
1. Use a Lens Hood
Lens hoods are in fact very simple yet very effective lens flare reducers. The shot will not be spoiled if the light fails to hit the lens; hence the image becomes a clear one even in a bright area. It is always better to get the lens hood equivalent to the focal length of the lens in order to have clear shots.
Pro Tip: Your hand or a piece of cardboard can be used to prevent the lens from unwanted light if you do not have a lens hood.
2. Adjust Your Shooting Angle
One way to avoid flare spots on your camera lens is to not let the sun touch the lens right at the time when you are taking the picture. I mean, don’t allow the light source to hit your lens straight. Instead, you can be in a way where the light is on the side or back.
Example: While capturing the sunset, try to put the sun just out of the frame or use an object (e.g., a tree or building) to block some of the sun.
3. Clean Your Lens
The other thing that can also contribute to the lens flare is dirt, smudges, and fingerprint marks on the lens. Train your lens cleaning by wiping it regularly with a microfiber cloth and a lens cleaning solution, which will considerably reduce the light reflections.
Pro Tip: Make sure that you are not using the rugged materials or strong chemicals that are capable of ruining the lens coating.
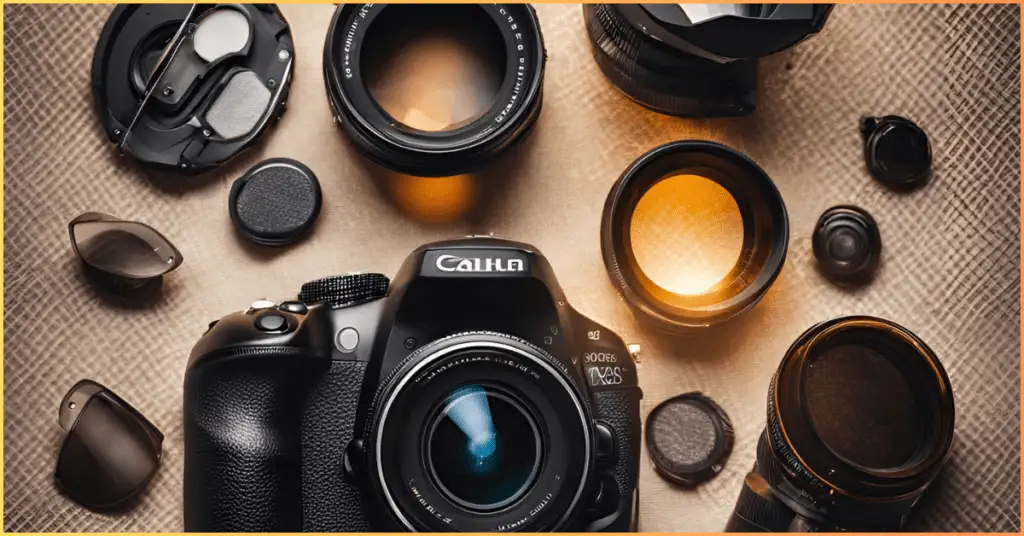
4. Use Quality Lenses
Highly advanced or new technology is the first option, which is a special lens coated with Nikon’s Nano Crystal Coat or Canon’s Super Spectra Coating.
This way, light flaring is avoided efficiently, and it doesn’t happen again for any shots. Camera and lens arrangements are particularly constructed to reduce the number of rays passing through the lens and maximize the light of day.
Pro Tip: Prime lenses with fewer glass elements, in general, create less flare than zoom lenses.
5. Remove Unnecessary Filters
Filters like UV and ND filters, while being helpful, can also cause flare. If you are annoyed by flare, try removing these filters to see if it improves your photo.
Pro Tip: If a filter is necessary, choose high-quality, multi-coated filters to minimize reflection problems.
6. Use a Solar Flare Filter Lens
The solar flare filter lens is a specific tool for reducing flare when taking photos in a very bright light source, for example, during a solar eclipse or a sunrise/sunset.
Pro Tip: These filters also work with astrophotography, where flare light is a particular concern.
7. Experiment with Aperture Settings
A smaller aperture (higher f-numbers) can effectively reduce flare by allowing the passage of reduced light through the lens. Yet, it could also result in diffraction, so be sure it gives a good look at your situation before you press the shutter.
Pro Tip: Use the DSLR camera’s depth-of-field (DOF) preview button to check the level of flare in the pictures with different apertures.
Lens Flare in Photography: Creative vs. Unwanted Flare
While this guide focuses on how to eliminate lens flare, it has to be noted that using it for different artistic purposes is also possible. For instance:
- Anamorphic lens flare: A very usual affair with this kind of lens flare is when you apply a horizontal streak, thus, the look of cinema videos is mimicked in the process.
- Lens flare overlay: Upon the addition of artificial flare during the production of the video, the general mood of the content is significantly enhanced.
- Lens flare effect: The flare as an art medium can provide one with so many different feelings, such as warmth, nostalgia, and drama.
How to Remove Lens Flare in Post-Production
Despite all your preventive measures, the flare still appears in your stills and movies. Consequently, you get it out using some of the most widely used video-editing and image-retouching tools.
Lens Flare in Photoshop
- Spot Healing Brush Tool: This small flare remover will be at your fingertips when you need to do away with minor flare imperfections.
- Clone Stamp Tool: For more significant areas, duplicate the adjacent pixels over the flare.
- How to add lens flare in Photoshop: If you want to add flare in some creative ways, go to Filter > Render > Lens Flare and adjust the settings.
Lens Flare After Effects
- Tracking and Masking: Track the flare and use mask techniques to hide it.
- Colour Correction: The funny thing is to make the flare part of your scene and not let it stand out among other elements.
Blender Lens Flare
A good way to combat flares is to make necessary adjustments to the light settings along with masking tools that can help you take away unwanted artefacts.
Lens Flare Filters and Accessories
1. Lens Flare Filter
Lens flare filters, quite particular accessories, are affixed to your lens to remove various glare. These filters are beneficial since they are coated to absorb as little proper reflective light as possible and may be used in strange lighting situations.
2. ND Filter Adapter
Does the ND filter adapter affect lens flare? Indeed, its use can bring about a flare, especially in low-quality filters. Go for the ND filters, which are of better quality and have anti-reflective coatings to avoid the problem of flare.
3. Solar Flare Filter Lens
The solar flare is a lens attachment designed for very bright conditions.
Lens Flare in Photoshop: How to Add and Remove Flare
How to Add Lens Flare in Photoshop
- Enter the Photoshop application and upload your photography.
- Head over to the option called Filter > Render > Lens Flare.
- Go to the slider bar to adjust the type of lens and the amount of brightness.
- Position the flare using the preview window.
- Choose OK to apply the effect to the photography.
- If you would rather have more control, make a new layer and apply the lens flare effect.
- Change the blending mode to Screen or Lighten to integrate it seamlessly.
- Use Layer Masks to remove unwanted areas of the flare.
How to Remove Lens Flare in Photoshop
- Use the Clone Stamp Tool: Click on this tool, find a clean area next to the flare, and cover up the flare with the pixels from that area.
- Use the Healing Brush Tool: Choose the tool and then paint over the wanted object, sample a clean area, and brush over the place where the flare is, and it will fit with its surroundings seamlessly.
- Use Content-Aware Fill: Choose the area under which the flare is and hand it over to Edit > Content-Aware Fill, adjust settings, and click OK.
Lens Flare Transparent: Adding Flare in Post-Production

To include flare in your images or videos, it’s possible to use lens flare transparent overlays. These would be PNG with an alpha channel composite over your footage. Some that could be employed are:
- Lens flare Photoshop brush: Custom brushes to give flare effects are ready for download.
- Lens flare transition: Use flares to transition between the sequences seamlessly.
The Common Types of Lens Flare and How You Can Deal with Them
1. Red Lens Flare
A red flare occurs most of the time through infrared radiation; this can be minimized by switching lenses or finding the ideal angle shot.
2. Blue Lens Flare
Blue flare usually happens when a light with a blue hue is present in the scene; to avoid this, use a specific lens hood or find a new place to stand.
3. White Lens Flare
The sun being in the air or lights being on is typical for white flare. Employ a solar flare filter lens or customize the aperture settings.
4. Purple Lens Flare
The extreme variety of areas can sometimes create a purple flare. There are several tips: wipe off the lens and turn your camera away from the light source while following the clouds.
5. Green Lens Flare
This kind of flare is a specialized lens coating that often causes it. Experience the distinctive features of many lenses to find the one that best minimizes green flare.
Conclusion
A lens flare sometimes serves as a terrific character in a photograph or a video, but it can also act as a killjoy. The flare should either stick to the theme or be eliminated. By understanding the causes of flare and giving the directions in this manual, you are sure to manage or eliminate it in your pictures.
Using lens hoods and changing your shooting point or employing superior post-production utensils such as Photoshop and After Effects can eliminate flare. The approach is the same whether it’s red lens flare, blue lens flare, or anamorphic lens flare, and it is to experiment and find the method that suits you best.
Remember that the remaining flare is not always the answer, but controlling it so that it adds to your work rather than taking away from it is what we want. With the appropriate knowledge and the perfect tools, you can master the art of how to eliminate lens flare and take your photography and videography to the next level.