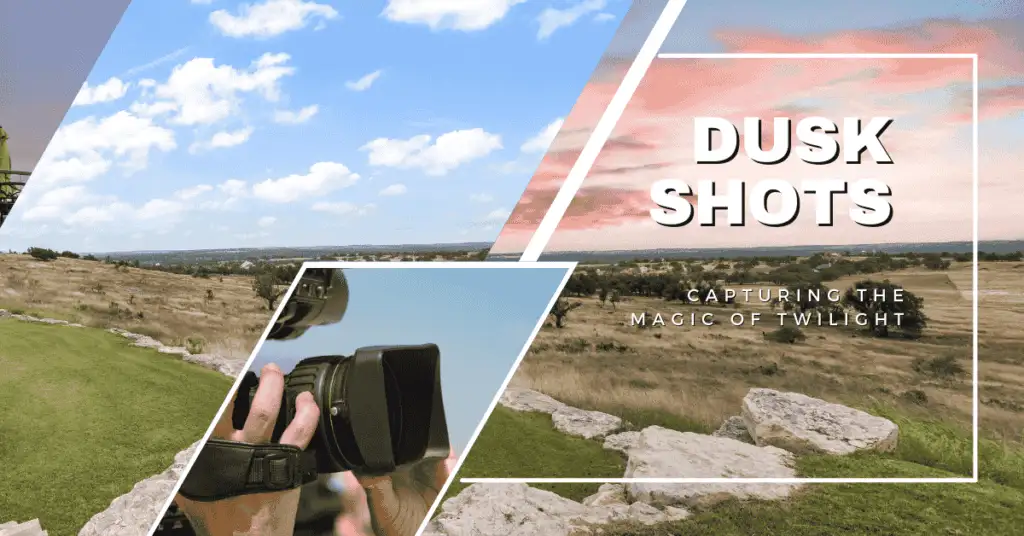
Dusk Shots are an excellent photography time because of the unique combination of natural light and deep shadows it produces, making beautiful pictures. This time, which is often called the ‘blue hour,’ occurs shortly after sunset, when soft, spread-out light illuminates all the colors and details. For successful dusk shots, one should know how light, composition, and technical settings interact with each other. Here’s a very helpful guide on taking amazing dusk photos
Table of Contents
Understanding the Appeal of Dusk Photography
The dusk photos stand out because of their atmospheric quality. Since the soft light doesn’t have such harsh shadows, it is extremely useful for portrait, landscape, and architectural photography. The pictures get depth and dimension with rich gradients in the sky accompanied by artificial lights like streetlamps or building illuminations.
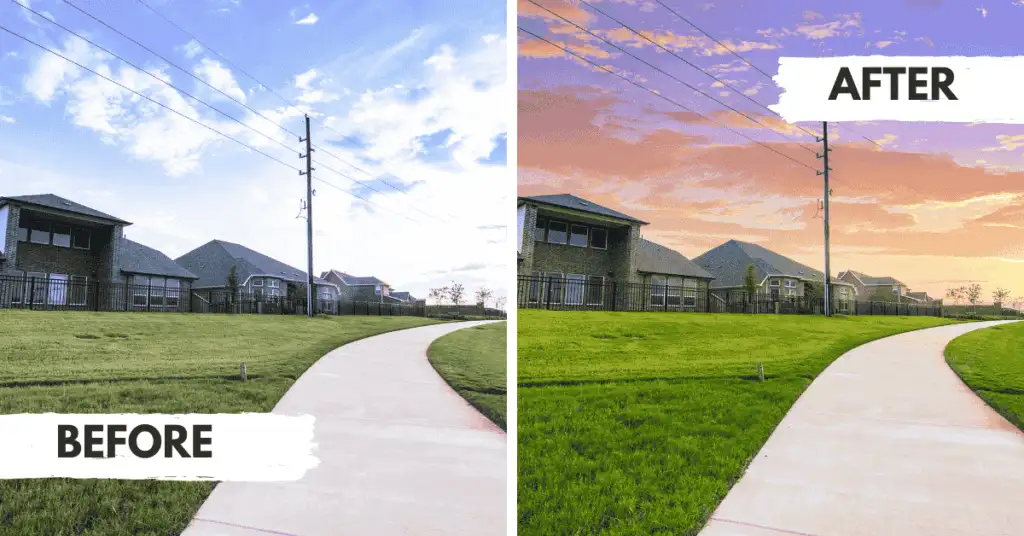
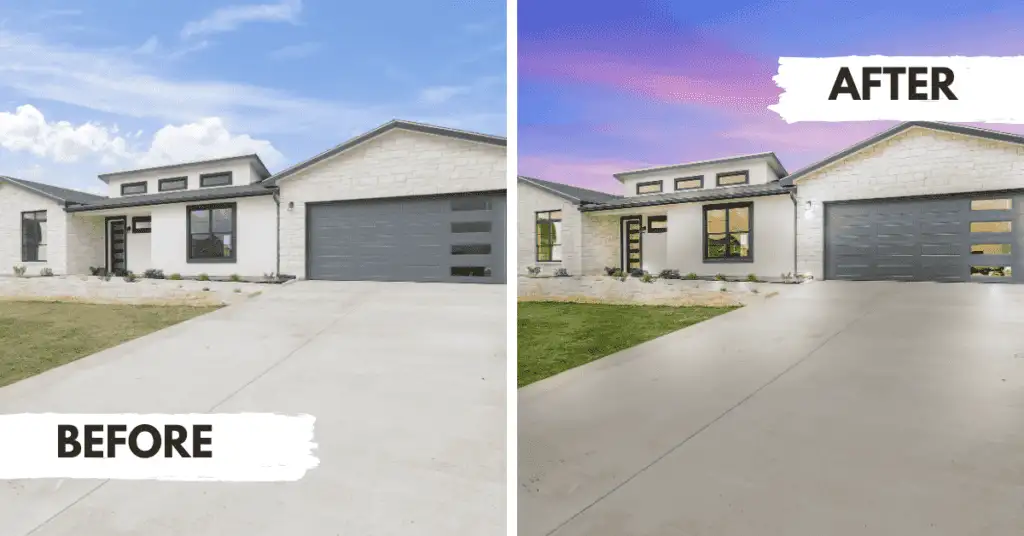
Showing before-and-after pictures of how things look from day to night can show the big change this time of day brings to a scene. These pictures emphasize how light and feelings change, providing a strong visual way to tell a story.


Important Gear for Dusk Photography
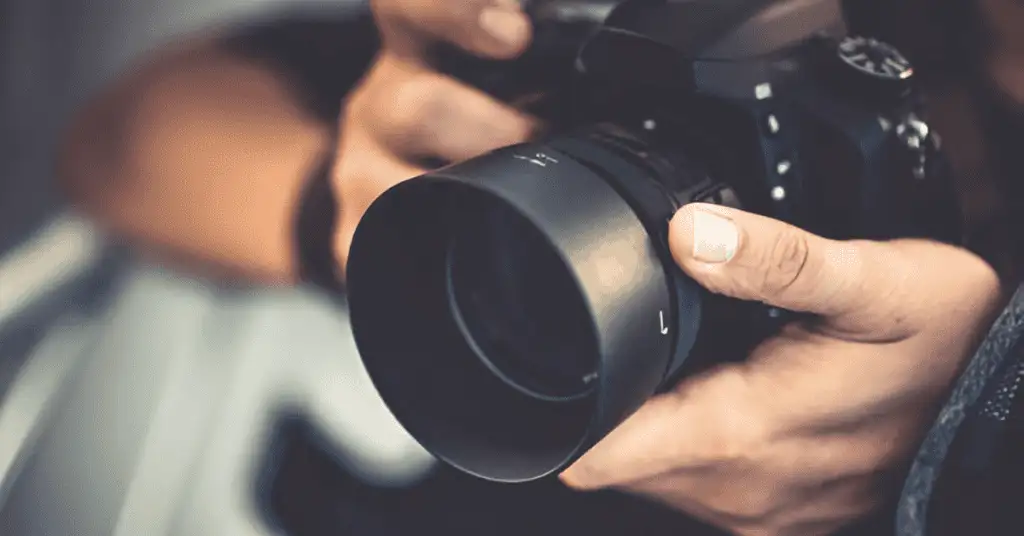
- A camera with manual settings– This will require a DSLR or mirrorless camera to alter the exposure, ISO, and aperture.
- A tripod- A good quality tripod that doesn’t shake in low light
- A wide-angle lens– For wider landscape shots or city views.
- Remote Shutter Release: Use a remote or timer to reduce vibrations.
- Filters: Neutral density (ND) filters help balance exposure, especially when using artificial lights.
Optimal Camera Settings for Dusk Shots
- ISO: Begin with low ISO (100-400). Raise it only if necessary.
- Aperture: For landscape photography, a smaller aperture is preferred, f/8 to f/16 with a wide depth of field, while for portrait photography, an aperture of f/2.8 to f/5.6 is ideal.
- Shutter Speed: Most of the shots require a long exposure time, between 1 and 30 seconds; a tripod keeps the camera still during such exposure.
- White Balance: Use the “Daylight” or “Cloudy” settings to keep the real colors of the scene.
- White Balance: Try the “Daylight” or “Cloudy” settings to keep the natural shades of the scene.
Planning Your Dusk Shoot
- Scout Locations: Visit your chosen place before the shoot to find the best spots and angles.
- Check the Weather: Clear or partly cloudy skies are good for taking photos at dusk Shots.
- Timing is Important: Arrive 30-45 minutes before sunset to get ready and see the light change.
- Flashlight: Very useful for walking in the dark and for camera settings.
How to Enhance Your Dusk Shots
- Use Reflections
Include water bodies like lakes, rivers, or puddles to show reflections of the sky or bright buildings. Reflections make your picture look balanced and interesting.
- Add Silhouettes
Place a subject (like a tree, person, or building) in front of the colorful evening sky to make bold silhouettes. Make sure your background is lighter than the foreground for a clear silhouette.
- Take Light Trails
Take your camera to a long exposure in order to capture the movement of cars or any other light sources. Light trails make urban dusk Shots feel more lively.
- Artificial Lights
Mix natural dusk Shots light with artificial lights such as streetlights, neon signs, or building lights. The warm shine of artificial lights looks great against the cool colors of the sky.
Tips for Post-Processing
- Adjust Exposure: Change brightness and contrast to bring out details in dark and bright areas.
- Boost Colors: Make colors more vibrant to show the deep shades of the evening sky.
- Reduce Noise: Use tools in editing programs like Adobe Lightroom or Photoshop to fix grainy parts.
- Sharpen Details: Use sharpening to make textures and edges stand out.
- Highlight Before-and-After Comparisons: Edit software can display day and dusk changes side by side. This technique demonstrates the significant impact of dusk Shots on the scene.
Common Mistakes to Avoid
- Exposing the sky too much and losing its hues and shades to the atmosphere while taking pictures: The exposure will have to be adjusted accordingly while taking the click so that such a mishap does not take place.
- Not Using a Tripod: Most pictures without a tripod blur because of slow shutter speeds.
- Look at leading lines, the rule of thirds, and foreground elements to make interesting images.
- Shoot in low light and use long exposures. These can drain the batteries quickly. Bring extra batteries.
Conclusion
Dusk Shots falls under the categories of highly satisfying kinds that show how exactly light and shadow work hand-in-glove. With the right tools, settings, and techniques, you’ll be taking lovely pictures at this special moment. You might be capturing pictures of quiet landscapes or of bustling cityscapes, but at dusk, you have great opportunities to capture some funny dusk shots. Showing before-and-after pictures of the changes from day to night can make your work more interesting, highlighting how light and feelings change. So take your camera, go outside at sunset, and let the beauty of dusk shots motivate your next great piece