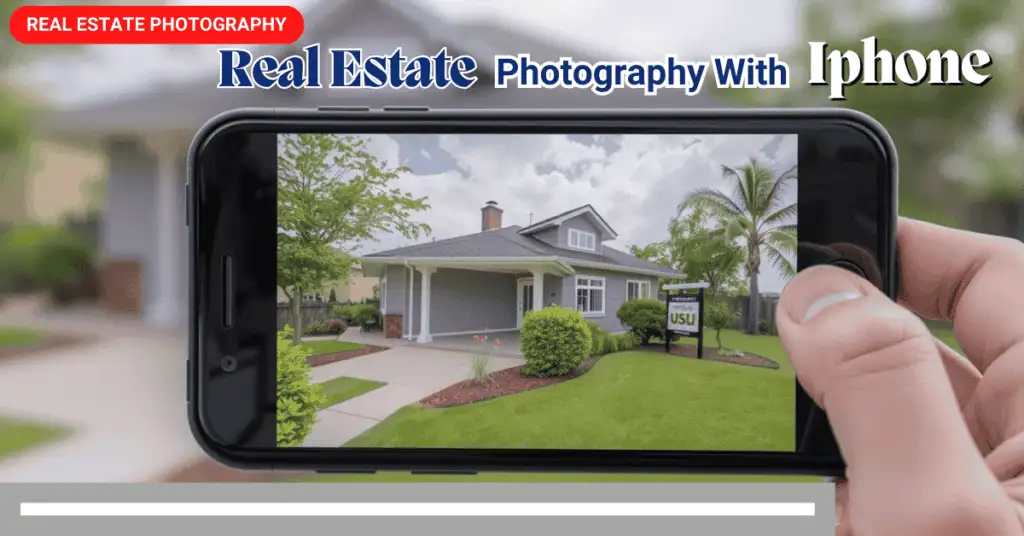
How to take real estate photos with iPhone? It is crucial to have high-quality photos because they are the only way to capture buyers’ interest. Certified cameras and lenses are the gold standard, but modern iPhones are also the right tools—used in the right way—to create real estate photos that will literally wow. This document is a step-by-step walkthrough that will help you in capturing real estate photos of professional quality through your iPhone without relying on any experts in the field.
Table of Contents
Why Use an iPhone for Real Estate Photography?
The latest iPhones are now equipped with camera capabilities similar to those used by professionals.
Here are some reasons why an iPhone can be a good tool for real estate photography:
- Accessibility
iPhones are common, making them a good and affordable tool for image capturing. There is no need to go and buy secondary equipment for it. - Ease of Use
Even with a restricted background in the field, iPhones are still very easy to use. The in-built features will assist in getting quality pictures. - Advanced Features
Run-of-the-mill gadgets pale in comparison to those equipped with unique attributes such as Night Mode, HDR (High Dynamic Range), and Ultra-Wide. These special features enable you to project brightness and sharpness even in the most difficult lighting conditions. - Portability
Unlike heavy DSLRs, iPhones are lighter and easier to take along, which is great if you want to take pictures in narrow or crowded spaces.
Essential Tools and Accessories
To achieve great results, consider these accessories before starting the photographic process:
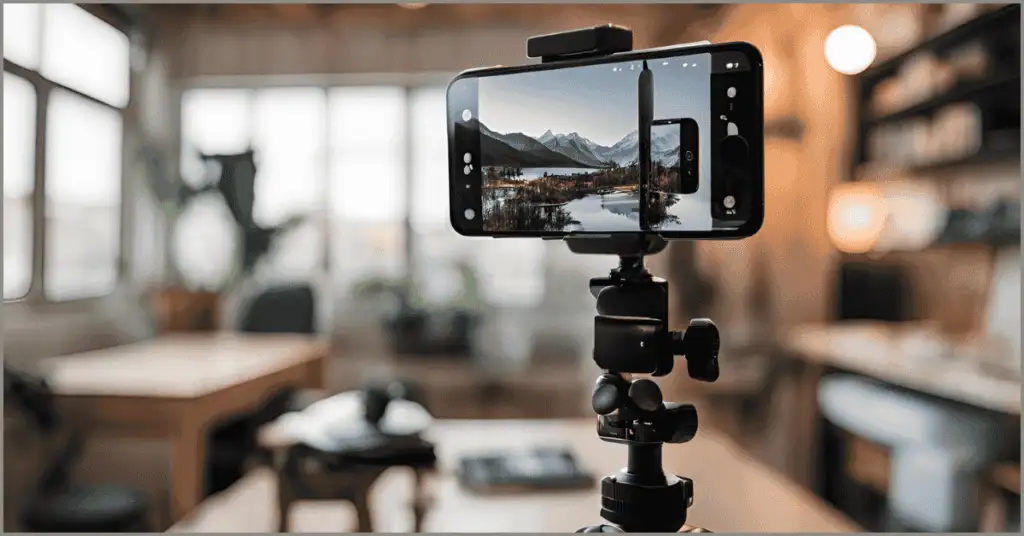
- Smartphone Mount with Tripod
Tripod is going to make it easier to get stable and clear images and eliminate blur caused by pressing the camera shutter button with your trembling hands. Especially it is beneficial when the light is not enough or you have to take such pictures where the angle is very wide. - Extra Wide-Angle Lens
Although the recent versions of the iPhone have a wide-angle camera, an additional high-quality lens can increase the room’s capture potential. - Lighting Kit
A portable LED light kit can brighten up darker spaces or rooms without enough natural light. Adjustable lights let you control intensity and temperature to get a nice, proportional look. - Cleaning Kit
It’s amazing how easily your fingerprints and shadows can mess up a perfect photo of rust and dust on your phone lens. Always carry a microfiber cloth with you so you can clean the lens every time you notice it is dirty.
A Step-by-Step Guide to Taking Real Estate Photos with an iPhone
- Prepare the Property
Organizing the property logically helps to take better photos. Follow these steps:
- Declutter: Remove personal items or unnecessary decor. A minimalist approach makes the room appear tidy and classic.
- Clean Thoroughly: The property should be spotless, with no specks on windows, floors, or counters. Cleaning is crucial as it preserves the details of the property.
- Stage the Space: Arrange furniture and decor to highlight the room’s best features. For example, add fresh flowers, arrange throw pillows, or set the dining table to make the space inviting.
- Optimize Lighting: Let in natural light by opening curtains or blinds. Turn on all the bulbs to create a soft and welcoming atmosphere.
- Adjust Your iPhone Settings
Ensure your iPhone camera settings are optimized:
- Enable HDR: Improves balance between light and dark areas of the image, so even shadows are visible.
- Turn on Gridlines: Enable the grid option in camera settings to align frames correctly and follow the rule of thirds for better composition.
- Use the Ultra-Wide Lens: In newer models like iPhone 12, the super wide lens captures more of the frame in one shot.
- Exposure is controlled by focusing on the screen and using the swipe up/down to brighten/dim until satisfied.
- Frame the Shot
Good composition can make or break your real estate photos. Follow these tips:
- Shoot at Eye Level: Position the camera about 5 feet off the ground for a natural perspective.
- Center the Room: Frame main features like windows, furniture, or architectural details.
- Use Leading Lines: Furniture, flooring, and walls can guide the viewer’s eyes to create depth and space.
- Avoid Distortion: Keep the iPhone leveled to prevent tilted lines or distorted walls.
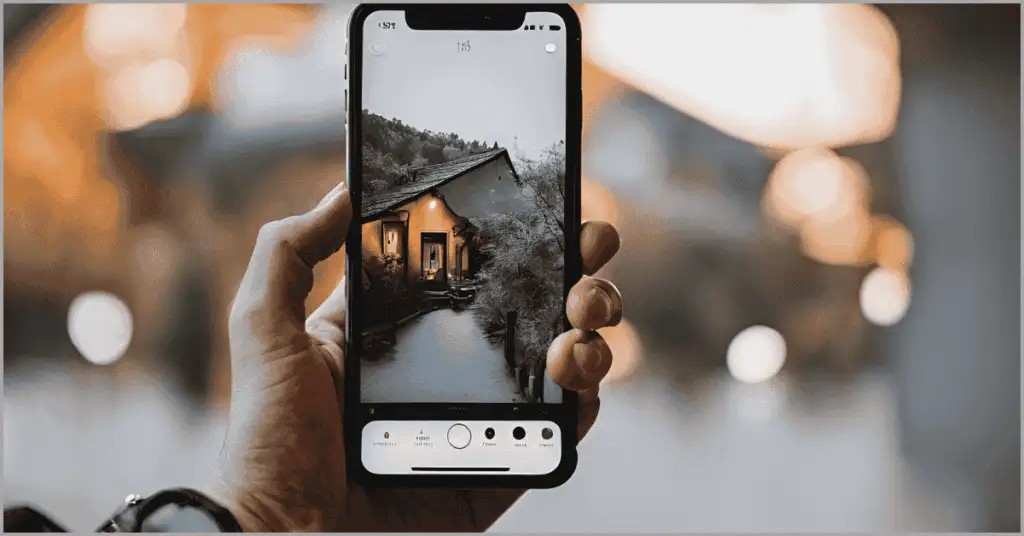
- Use Natural and Artificial Light
Lighting is crucial for real estate photography:
- Maximize Natural Light: Take shots during the day with curtains and blinds open to make rooms bright and airy.
- Supplement with Artificial Light: Use LED lights for areas with little natural light to ensure even brightness.
- Avoid Overexposure: Balance light and shadow to prevent overly bright or dark areas in your photos.
- Take Multiple Shots
Capture various angles of the rooms to provide a complete view:
- Corner Shots: Show the entire room by taking pictures from the corners.
- Feature Highlights: Highlight unique features like fireplaces, chandeliers, or custom cabinetry with close-up shots.
- Panorama Mode: Use this mode for open spaces like living rooms or backyards to capture the full area.
Editing Your iPhone Real Estate Photos
The enhancement of your photographs is what gives them a professional and polished result. Here’s how to do it:
- Use Editing Apps: Lightroom Mobile, and VSCO are very versatile, and one of the many things they enable you to do is the manipulation of colors, brightness, and contrast. Brightness. and also you can hire a professional editor at cheap price.
- Contrast Adjustment: Increase photos exposure while maintaining a natural appearance.
- Straighten Walls: To make the walls clean and clear, you can use editing software for their products to rectify the perspective issues.
- Enhance Colors: Slightly boost saturation and vibrance for an attractive, realistic look.
- Remove Imperfections: Use editing tools to erase distractions like wires or blemishes.
Pro Tips for Better Results
- Shoot in Portrait Orientation: Capture upright elements like doors, stairs, and windows.
- Avoid Reflections: Position the camera to prevent capturing your reflection in mirrors or shiny surfaces.
- Practice Post-Processing: Develop advanced photo-editing skills to create masterpiece images.
- Test Different Times of Day: Experiment with different angles and lighting conditions for fresh perspectives.
When to Consider a Professional Photographer
While iPhones are great for real estate photography, high-end properties may require professional photographers. Professionals bring advanced equipment and expertise to capture and enhance your photos effectively.
Conclusion
Learning about real estate photography with the iPhone is not just an easy thing to do but also results in great productivity if done properly. A well-structured property, the right techniques, and a good post-processing job are the essentials of creating high-quality images that will impress customers and increase your real estate inventory. To me, being a real estate photographer means you have to practice enough as well as developing your meticulous nature.