Real Estate Virtual Twilight Photography: How to Create Stunning Real Estate Images with Photoshop
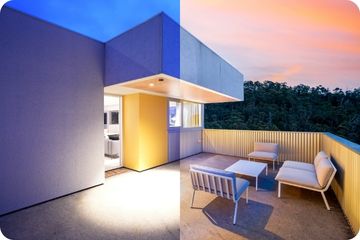
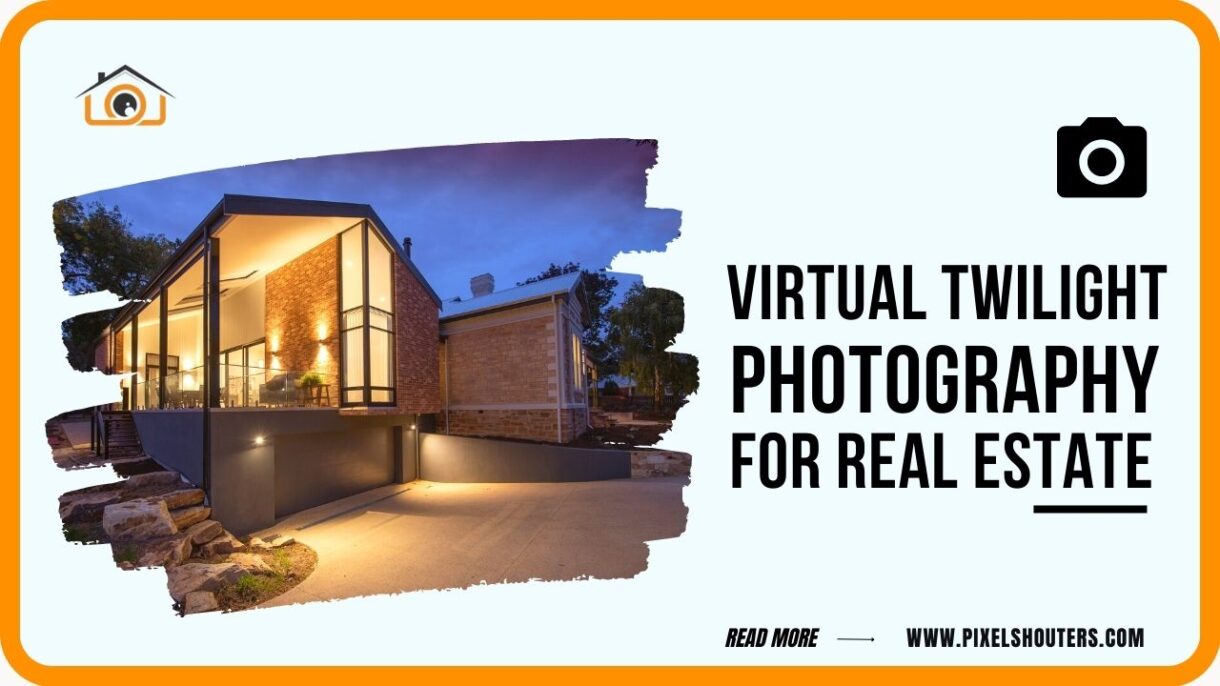
Real Estate Virtual twilight photography is a powerful tool for real estate agents and photographers to showcase a property’s exterior during the magic hour, even if the photo was taken during the day. Real estate Virtual twilight photography involves creating a virtual twilight effect in post-production using editing software like Photoshop. This technique can add depth, warmth, and visual interest to a property’s exterior, helping it stand out from other listings and capturing potential buyers’ attention.
In this article, we will explore the process of creating a virtual twilight effect in Photoshop, step-by-step. We’ll also discuss the benefits of real estate virtual twilight photography for real estate, tips for capturing the perfect shot for virtual twilight photography, and resources for improving your photo editing skills.
Table of Contents
Benefits of Real Estate Virtual Twilight Photography for Real Estate
Real Estate Virtual twilight photography offers numerous benefits for real estate agents and photographers. By creating a virtual twilight effect, you can:
- Enhance the Visual Appeal of a Property: A virtual twilight effect can add warmth, depth, and visual interest to a property’s exterior, making it more appealing to potential buyers.
- Stand Out from the Competition: With real estate virtual twilight photography, you can make your listings stand out from others in the market. A stunning twilight image can capture potential buyers’ attention and encourage them to schedule a showing.
- Overcome Weather Limitations: Real estate Virtual twilight photography allows you to showcase a property’s exterior during the magic hour, even if the photo was taken during the day or in poor weather conditions.
- Highlight Exterior Features: A virtual twilight effect can draw attention to a property’s exterior features, such as landscaping, outdoor lighting, and architectural details.

Tips for Capturing the Perfect Shot for Real estate Virtual Twilight Photography
Before we dive into the editing process, it’s essential to understand how to capture the perfect shot for real estate virtual twilight photography. Here are a few tips to help you capture the best image possible:
- Plan Ahead: Plan your photo shoot to capture the exterior of the property during the magic hour, which is typically around sunset or sunrise. Use a weather app to ensure that the weather conditions will be optimal for your shoot.
- Use a Tripod: A tripod is essential for keeping your camera steady during a long exposure. Your photos will be sharp and in focus as a result.
- Choose the Right Lens: Use a wide-angle lens to capture the entire exterior of the property in one shot. This will help to create a sense of space and give potential buyers a better idea of the property’s overall layout.
- Use Manual Mode: Set your camera to manual mode to have complete control over the exposure settings. This will allow you to adjust the shutter speed, aperture, and ISO to capture the perfect shot.
- Take Multiple Shots: Take multiple shots at different exposures and angles to give yourself plenty of options to work with during the editing process.
- Outsource Photo Editing: Consider outsourcing real estate photo editing for a professional touch to enhance image quality, remove unwanted elements, adjust lighting and colors, and add virtual twilight effect.
Now that we’ve covered some tips for capturing the perfect shot for real estate virtual twilight photography, let’s dive into the editing process.
How to Create a Virtual Twilight Effect in Photoshop
Decide on an Overall Look
The first step in creating a virtual twilight effect is deciding on the overall look you want to achieve. This will help guide your editing decisions as you work on the image. Some popular looks for real estate virtual twilight photography include warm and golden hues, deep blues, and purple and pink tones.
Separate the Image as Layers
Once you’ve selected the image you want to edit, open it in Photoshop and separate it into layers. This will allow you to make precise edits to each layer and ensure that the final image looks seamless. To do this, select the image layer and duplicate it by pressing
Ctrl+J on Windows or Command+J on Mac. Then, select the duplicate layer and go to Image > Adjustments > Desaturate to remove all colors from the image. Create a new layer after that, and then fill it with black. This layer’s blend mode should be changed to Screen. This will lighten the image and make it easier to see the areas you need to edit.
Edit the Image
Now that you have your layers separated, it’s time to start editing the image. Here are some common edits you can make to create a virtual twilight effect:
- Adjust the Color Balance: Go to Image > Adjustments > Color Balance and adjust the sliders to add warm or cool tones to the image. For a warm and golden look, increase the red and yellow tones. For a cool and blue look, increase the blue and cyan tones.
- Increase the Contrast: Go to Image > Adjustments > Brightness/Contrast and increase the contrast to make the image pop. This will contribute to a more dramatic appearance.
- Add Shadows and Highlights: Go to Image > Adjustments > Shadows/Highlights and adjust the sliders to add more detail to the shadows and highlights. This will help to create more depth in the image.
- Use Dodge and Burn Tools: The Dodge tool can be used to lighten areas of the image, while the Burn tool can be used to darken areas. Use these tools to add more contrast and drama to the image.

Flatten the Image
Once you’re happy with your edits, it’s time to flatten the image. Go to Layer > Flatten Image to merge all of your layers into one.
Add Your New Sky
Now it’s time to add your new sky. You can either use a stock photo of a twilight sky or create your own by combining multiple images. To add the new sky, simply drag and drop it onto your image.
Select and Mask Your Sky
Use the Quick Selection tool to select the sky in your image. Once you have the sky selected, go to Layer > Layer Mask > Reveal Selection to add a layer mask to your sky layer.
Next, use the Refine Edge tool to fine-tune the edges of the sky. This will help to blend it more seamlessly with the rest of the image.
Make Final Adjustments
Finally, make any final adjustments to your image to ensure that it looks seamless and professional. This may include adjusting the color balance, contrast, and brightness, or using the Clone Stamp tool to remove any distractions from the image.
Practice Makes Perfect
Creating a virtual twilight effect in Photoshop takes time and practice, but with the right tools and techniques, you can create stunning images that will capture potential buyers’ attention. Experiment with different looks and editing techniques to find the style that works best for you.
Resources for Improving Your Photo Editing Skills
If you’re new to photo editing or want to improve your skills, there are many resources available to help you.
- Adobe Photoshop Tutorials: Adobe offers a wide range of tutorials and resources for learning Photoshop, including step-by-step guides, video tutorials, and user forums.
- YouTube Tutorials: YouTube is an excellent resource for learning Photoshop and other photo editing software. There are many channels dedicated to photo editing tutorials, including Phlearn, Piximake, and Photoshop Training Channel.
- Online Courses: There are many online courses available for learning Photoshop and photo editing. Udemy, Coursera, and Skillshare all offer courses taught by experienced instructors.

Conclusion
Real estate Virtual twilight photography is an effective way to showcase a property’s exterior during the magic hour and capture potential buyers’ attention. With Photoshop and the right editing techniques, you can create stunning virtual twilight images that stand out from other listings
on the market. By following these steps and practicing your editing skills, you can create images that help your real estate business thrive. Real estate Virtual twilight photography is a powerful tool that can give your real estate listings an edge over the competition. With the right editing techniques, you can create images that showcase a property’s exterior during the magic hour and capture potential buyers’ attention. By following the steps outlined in this article and practicing your skills, you can create stunning virtual twilight images that stand out from other listings and help your business thrive.
