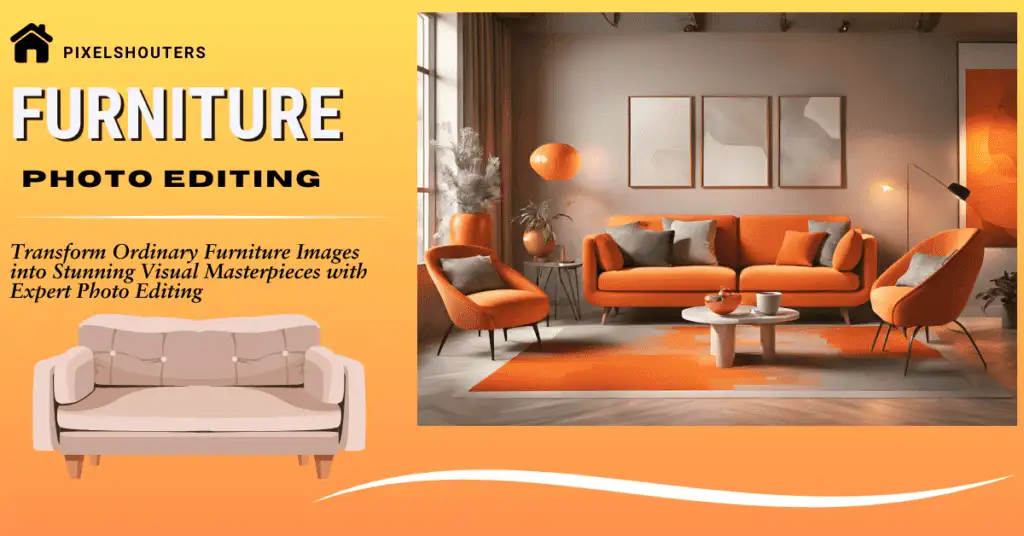
Furniture Photo Editing is an essential skill that takes a simple picture to great images for marketing, online shopping, and design portfolios. This article looks at helpful techniques, creative ideas, and the best tools that will help beginners get started in furniture photo editing, ensuring they have professional-quality results.
Table of Contents
Why Furniture Photo Editing Is Important
Good pictures are an important product in the furniture business. Edited photos can:
- Key Features: High detailing such as texture, workmanship, and design.
- Build Customer Trust: Clear, nice images create trust and credibility.
- Increase Sales: Quality images attract and retain the attention of the customer.
Types of Furniture Photo Editing
Well, there are several ways to shoot the furniture photograph, but this relies upon purpose or intentions of use and the original photo condition. Here is the breakdown:
- Colour Correction
The color of the furniture might look different under varying lighting types. Change the brightness, contrast, saturation, and white balance to display the proper colors of the furniture in this photograph. - Background removal and replacement
Removing busy or distracting backgrounds would greatly help people concentrate on the furniture. Use solid colors, textures, or home-like settings to make the product look even better. - Shadow and Reflection Enhancement
Adding or changing shadows and reflections can make furniture look real and three-dimensional. It is a good way to make products look realistic while selling via an internet shop. - Moving Objects
Remove unwanted things like scratches, dust, or wrinkles in upholstery so that the final image is smart-looking. It makes the furniture look brand new and eye-catching. - Retouching and Highlighting Details
It brings into play details such as wood grain, texture in the fabrics, and finish on metals, so perhaps it’s something with great quality.
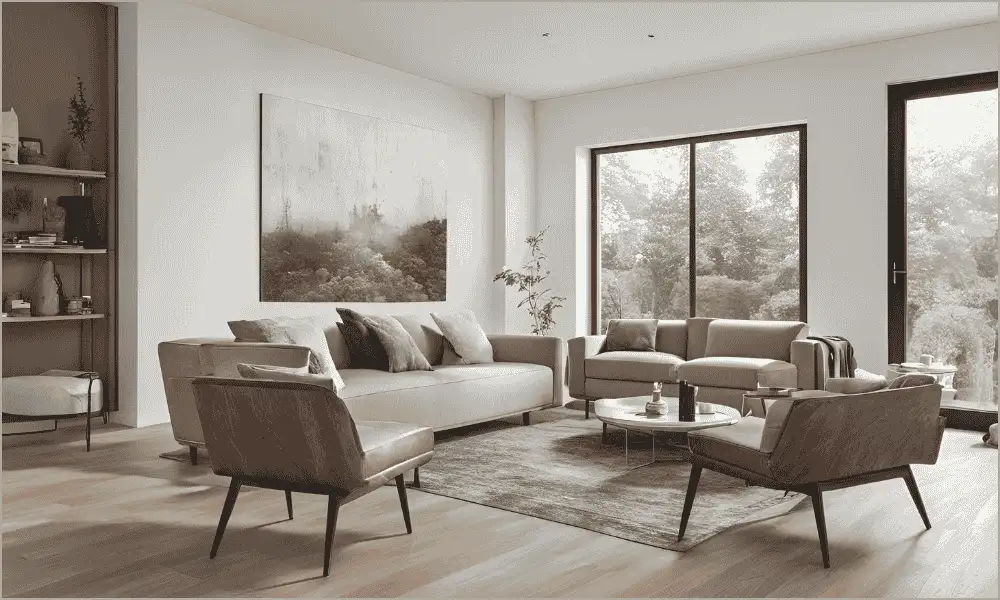
Furnishing Frames: Furniture Photography Tips and Creative Ideas
The first step towards remarkable visuals is the perfect shot. The better the photo, the lesser time it takes to be edited.
- Provide appropriate lighting.
Getting the right colors and textures requires proper lighting. Mild hues of colors appear well under natural light, and the objects become more stable under artificial studio lighting. - Select Compatible Backgrounds
Busy backgrounds tend to draw one’s attention away from the furniture. Modern furniture looks best against simple, neutral backgrounds, but traditional pieces look great against staged home settings. - Play with Angles
Take pictures from different angles to show various features of the furniture. For example, a low-angle shot might make the sofa look impressive, or a close-up might illustrate stitching or wood grain on the chair. - Stage the Furniture
Stage complementing furniture pieces like rugs, vases, or lamps to enhance harmony and interest. This presentation gives the potential buyer a better view of how the furniture would fit into their place.
Beginner-Friendly Photo Editing Software
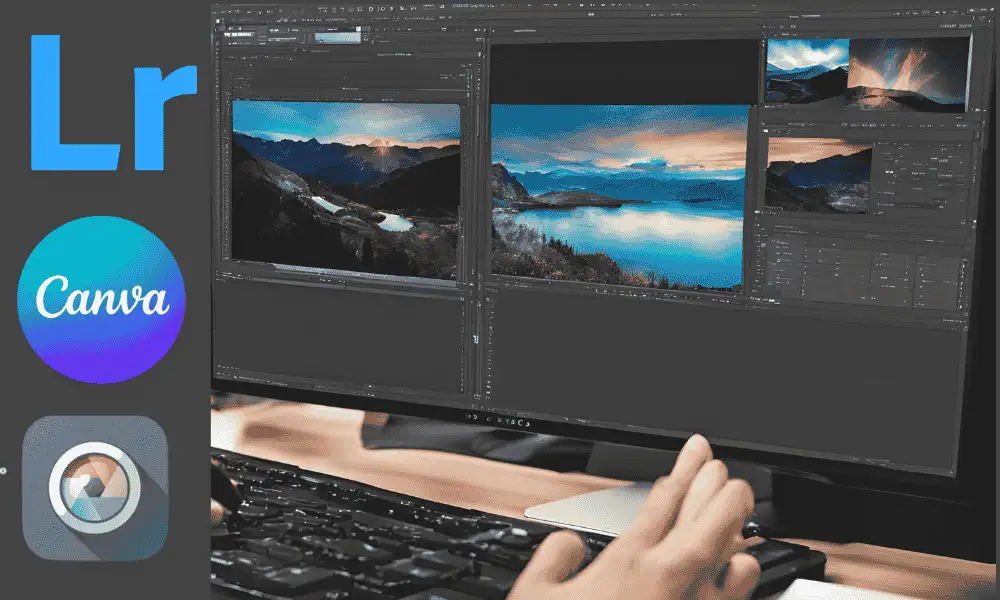
For instance, selecting the right software is very important especially for those starters. Here are some easy-to-use choices to help you begin:
- Adobe Lightroom and Photoshop
Industry standards Adobe produces a wide range of products. For detailed retouching, Photoshop is right there, but Lightroom does color correction and batch processing. - Canva
Canva allows the user to be intuitive and drag-and-drop in an editor, ideal for quick fixes and creating social media visuals. Great for beginners: simple end. - Pixlr
Pixlr is free web-based Photoshop because it has natural basic tools for cutting, fixing, and changing colors.
Professional Assistance
If you’re looking to save time or ensure professional-grade results, consider outsourcing your editing to experts like PixelShouters. They specialize in advanced furniture photo editing, making your visuals market-ready with precision and expertise.
Beginner Editing Basics
Editing furniture photos for the first time? Use these easy and helpful methods:
- Cutting and arranging
Ensure the furniture looks straight and well-framed in the picture. Additional parts must be cut as it forms a clearer view. - Brightness and Contrast Controls
Change the brightness to make sure that the furniture is bright, and change the contrast to highlight the details. This is very important for dark furniture pieces. - Color Blends
Adjustment to White Balance: To rectify any color issue acquired due to lighting, change the white balance. Neutral colors make furniture more life-like. - Save It in the Right Format
Always save the edited picture in high resolution, either JPEG or PNG to ensure clarity and professional quality.
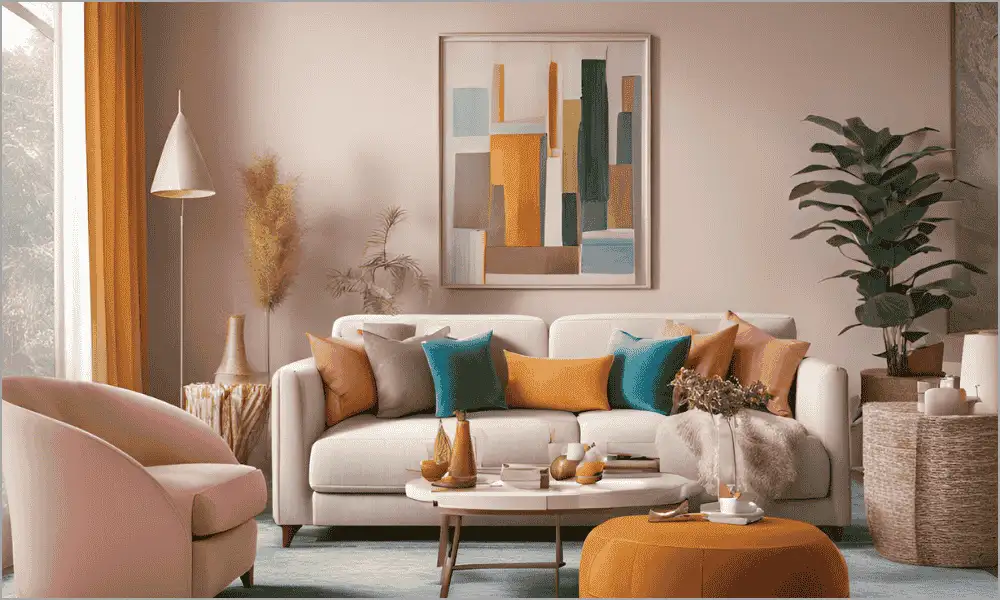
Creative Ideas in Photo Editing of Furniture
Make your furniture photos brighter with the following fun ideas:
- Background Information
Replace the plain white with lifestyle backgrounds giving a relatable feel to furniture. For example, a dining table in a cozy dining room setup. - Display Textures
Pan out and, for dramatic effect, cut to reveal the special materials of the furniture, wood grain patterns, textiles, or metallic surfaces. - Apply color gradients
Soft gradients in the background can add depth to the furniture without overwhelming it. - Play with Light and Shadings
Lighting effects are used to make the image look more deep and natural, and while small shadow improvements make furniture appear solid and three-dimensional.
Advanced Techniques for Furniture Photo Editing
Once you’ve mastered the basics, explore these advanced techniques:
1. Using Layer Masks in Photoshop
Layers allow you to make serious edits without significantly altering the image itself. Use masks for spot changes, such as brightening certain areas or applying effects.
2. High Dynamic Range (HDR)
Editing Combine several photos taken with different settings to make a balanced image. HDR editing helps show details in both bright and dark areas.
3. Add Reflections
For more modern furniture, such as glass tables or metal chairs, soft reflections can make the image look very realistic.
Common Mistakes to Avoid
While editing furniture photos, avoid these pitfalls:
- Over-editing: Too bright or saturated colors give an unrealistic look to the furniture.
- Ignore Proportions: Always maintain the correct sizes of furniture to avoid bad images.
- Lackluster Background Choices: Distracting or wrong backgrounds may shift the focus off the furniture.
Conclusion
This will involve technical ability along with creative touch. You could either be a beginner who uses free software or a professional who collaborates with the experts at PixelShouters, whereby you will create visuals that appeal to and convert the audience; you can do so by creating better textures, putting up appropriate backgrounds, and many more. You will transform regular photographs of furniture into exciting images that capture today’s market with the right tools and a little practice.