
The Ultimate Guide to Real Estate HDR Photography
Real estate HDR photography is a powerful tool for showcasing a property’s best features and attracting potential buyers. In our previous blog series, we covered everything you need to know about real estate HDR photography, from getting your first client to delivering the final images. In this blog, we will bring together all the key points of the series into one comprehensive guide for real estate HDR photographers. Whether you’re a beginner looking to break into the industry or an experienced photographer looking to up your game, this guide will provide you with the essential knowledge and tips you need to create stunning HDR images for your clients. So let’s dive in!
Table of Contents
I. How to get your first client:
One of the most important aspects of any business is the ability to attract clients. In the real estate photography industry, this is especially true. Here are some tips for getting your first clients:
- Networking and Building Relationships: One of the most effective ways to get clients in the real estate industry is through networking. Attend industry events and connect with real estate agents, property managers, and other professionals in the industry.
- A Professional Online Presence: Having a professional online presence is essential for attracting potential clients. Ensure that your website and social media profiles are up-to-date and showcase your work.
- Marketing Strategies: Implementing marketing strategies such as paid advertising, email marketing, and content marketing can help you get your name out there and attract potential clients.

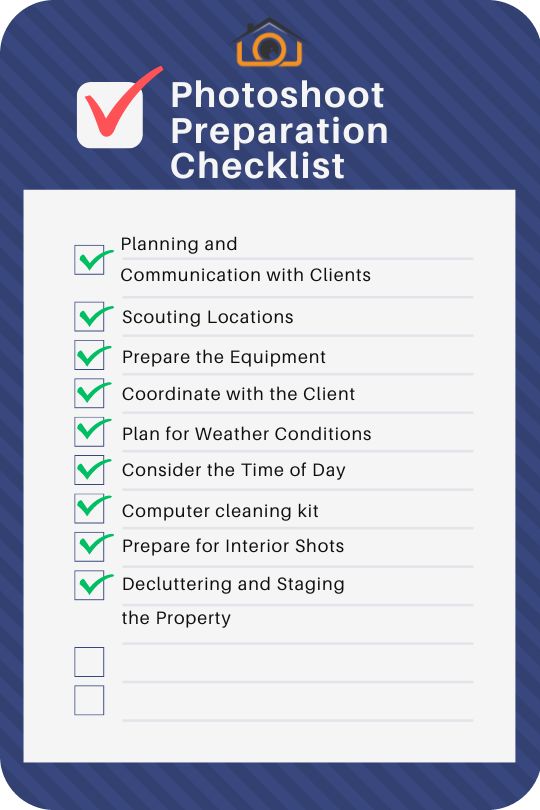
II. Photoshoot Preparation:
Once you have secured your first client, it’s time to start preparing for the photoshoot. Here are some key points to consider:
- Planning and Communication with Clients: Proper planning and communication with clients are essential to ensure a smooth photoshoot. Discuss the client’s expectations and preferences in advance, and agree on a shooting schedule.
- Scouting Locations: Scouting locations ahead of time can help you identify the best angles, lighting conditions, and composition for your shots.
- Decluttering and Staging the Property: Before the photoshoot, ensure that the property is decluttered and staged to enhance its visual appeal. Remove any personal items, clean up clutter, and arrange furniture and decor in an attractive way.
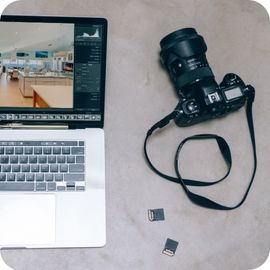
- Prepare the Equipment: Make sure that your camera and other equipment are in good working order and fully charged. Pack extra batteries, memory cards, and any other accessories you might need.
- Coordinate with the Client: Communication with the client is key to ensuring that you capture the images they want. Discuss their needs and expectations, and make sure to ask questions about the property and any specific features they want to highlight.
- Plan for Weather Conditions: Weather can have a significant impact on the quality of your images, so it’s important to plan accordingly. Check the weather forecast ahead of time and reschedule if necessary. If shooting outdoors, plan to shoot during the golden hours when the light is most flattering.
- Consider the Time of Day: The time of day can also have a significant impact on the quality of your images. Try to schedule the shoot when the property is most likely to be well-lit and free from shadows.
- Prepare for Interior Shots: Shooting interiors can be challenging due to the limited space and available light. Make sure to bring the appropriate equipment, such as a wide-angle lens and a tripod, and plan to shoot during the day when natural light is most abundant.
In the next part of this series, we will discuss tips for shooting in real estate HDR photography.
III. How to shoot Real estate HDR photography:
HDR photography is a powerful tool that can help you capture stunning images of real estate properties. Here are some tips to help you shoot HDR in real estate photography:
- Use a Tripod: Using a tripod is essential for HDR photography as it helps to keep the camera steady and avoid camera shake, which can result in blurry images.
- Choose the Right Camera Settings: Set your camera to manual mode and choose the appropriate settings for the scene, including aperture, shutter speed, and ISO.
- Capture Bracketed Exposures: To create an HDR image, you need to capture multiple images of the same scene at different exposure levels. Bracketing involves taking three or more photos of the same scene at different exposures – one underexposed, one overexposed, and one at the correct exposure level.
- Capture RAW Images: Shooting in RAW mode allows you to capture more information and detail in your images, making it easier to process them later.
IV. How to process HDR images:
After capturing the bracketed exposures, the next step is to process them to create an HDR image. Here are some tips to help you process HDR images:
- Choose the Right Software: There are several software options for processing HDR images, including Photoshop and Lightroom. Choose the one that works best for you and your workflow.
- Tone Mapping: Tone mapping is the process of converting the high dynamic range data into an image that can be displayed on a standard monitor or print. This is where you can adjust the exposure, contrast, and color saturation to achieve the desired effect.
- Reduce Noise: HDR images can often have more noise than regular images due to the blending of multiple images. Reducing noise is an important step in post-processing to achieve a clear and sharp image.
V. How to deliver edited images to clients or for listing purposes:
After processing the images, it’s time to deliver them to the client or for listing purposes. Here are some tips for delivering high-quality images:
- File Types and Resolutions: Choose the appropriate file types and resolutions based on the client’s needs and requirements.
- Organize and Label Images: Proper organization and labeling of images can make it easier for clients to find and use the images.
- Deliver High-Quality Images: Ensure that the images you deliver are of high quality and meet the client’s expectations.
In conclusion, HDR photography is an important tool in real estate photography that can help you capture stunning images of properties. By following these tips, you can create HDR images that stand out and impress your clients. In the next part of this series, we will discuss the best software options for processing HDR images.


[…] is that it is more time-consuming for real estate businesses. While it’s true that HDR photography requires more time and effort than standard photography, the benefits it offers far outweigh the […]